


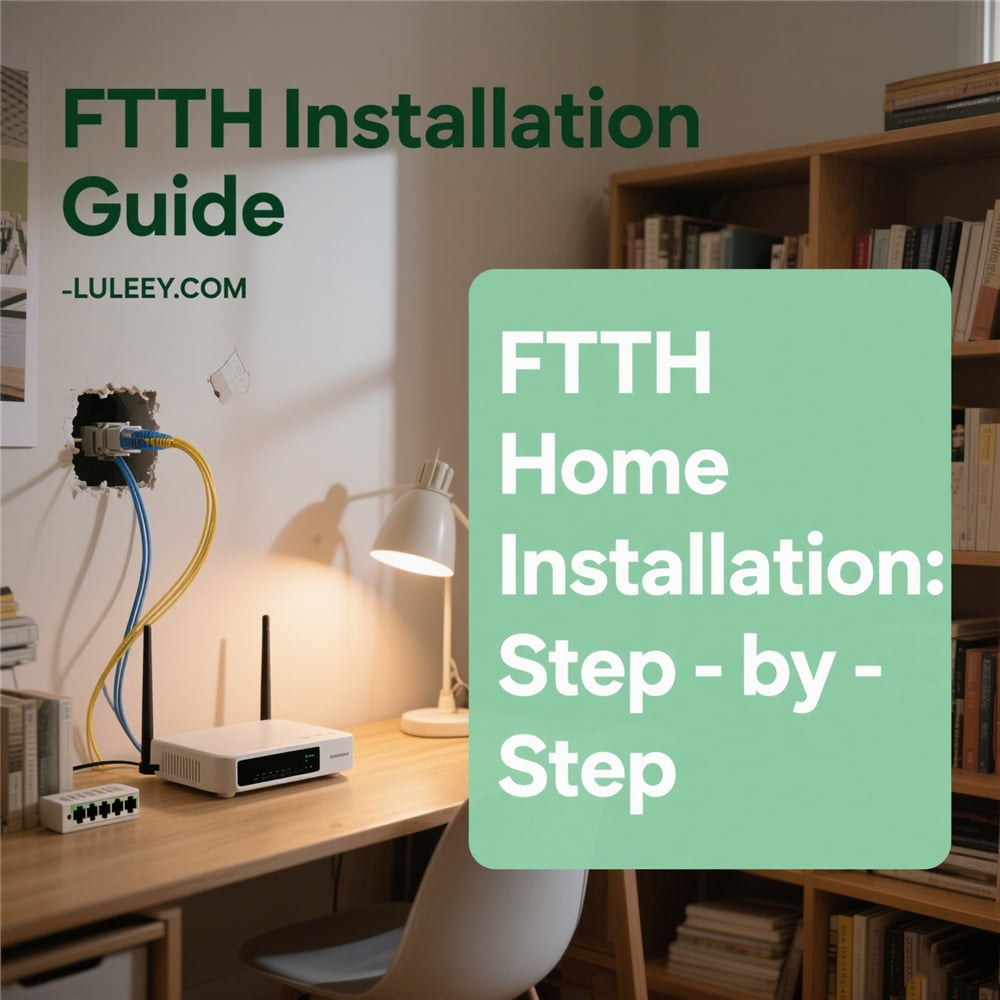
In an era where high-speed internet is as essential as electricity, Fiber to the Home (FTTH) has emerged as the gold standard for residential connectivity. Unlike traditional copper networks, FTTH delivers data via light signals through optical fibers, enabling gigabit speeds and unparalleled reliability. This comprehensive guide walks you through every stage of installing an FTTH network in your home, tailored for DIY enthusiasts and homeowners in the Europe and America market. Whether you’re upgrading from DSL or setting up a new connection, this step-by-step handbook ensures a smooth installation process with practical tips and real-world scenarios.
Table of Contents
- Pre-Installation Preparation: Laying the Foundation for Success
- Assess Your Home Network Needs and Layout
- Gather Essential Tools and Equipment
- Phase 1: Outdoor Cable Routing and Connection
- Phase 2: Indoor Setup and Equipment Installation
- Phase 3: Network Configuration and Testing
- Troubleshooting Common Installation Issues
- Advanced Installation Tips for Tech-Savvy Homeowners
- Create a Smart Home Network with Mesh Wi-Fi
- Implement Home Network Security Best Practices
- Installation Case Studies
- Maintenance and Upkeep for Long-Term Performance
- Conclusion: Enjoy the Benefits of a Professionally Installed FTTH Network
Pre-Installation Preparation: Laying the Foundation for Success
Before diving into the installation process, thorough preparation is key to avoiding common pitfalls and ensuring optimal performance. Proper planning saves time, minimizes disruptions, and sets the stage for a seamless FTTH setup.
Assess Your Home Network Needs and Layout
Understanding your home’s structure and connectivity requirements is the first step in any successful FTTH Installation. Take measurements of your living space, note the location of potential obstacles (such as concrete walls or metal beams), and identify areas with the highest demand for high-speed internet.
Case Study: A Victorian-Style Home in LondonSarah, a freelance graphic designer, lives in a 3-story Victorian house with thick stone walls. She needed an FTTH setup that could support her design software, 4K video editing, and multiple connected devices across all floors. By mapping out her home’s layout, she identified the central hallway as the optimal location for the Optical Network Terminal (ONT) to maximize coverage.
Gather Essential Tools and Equipment
Having the right tools on hand prevents frustrating delays during installation. Here’s a comprehensive list of equipment you’ll need:
- Installation Tools:
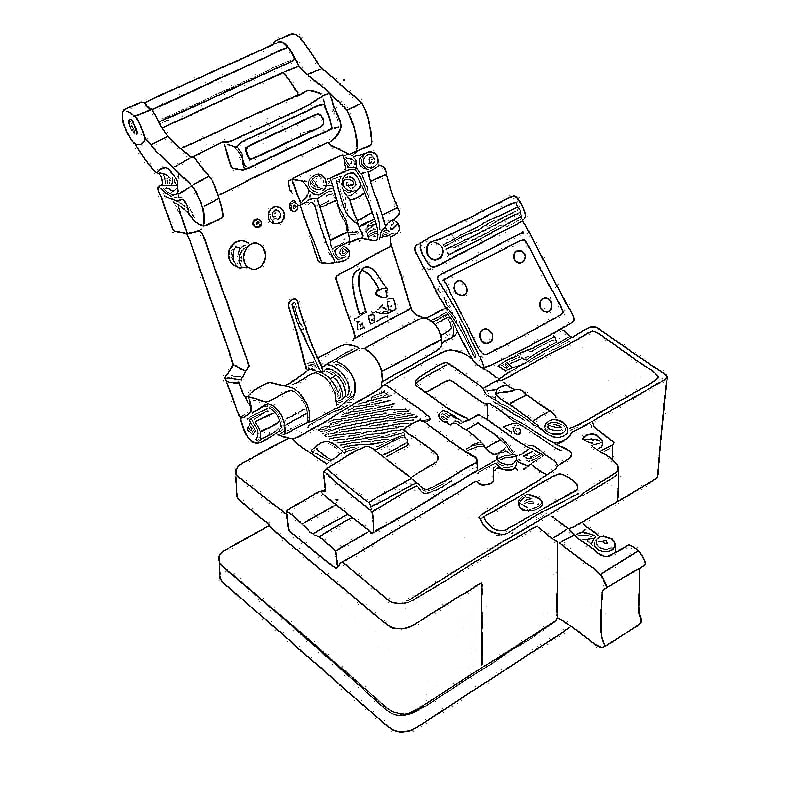
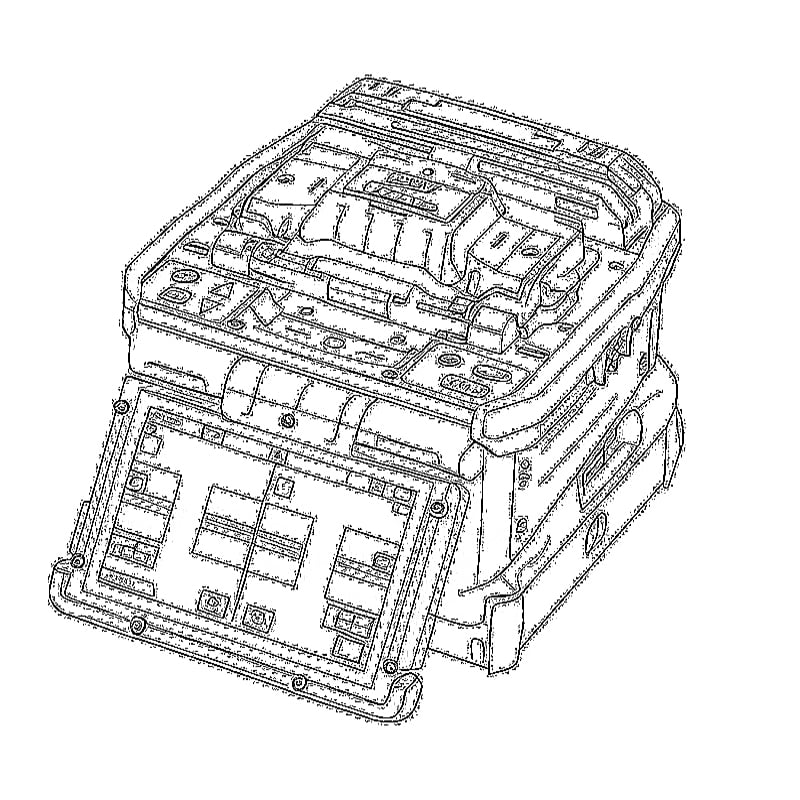
- Fiber optic cable stripper and cleaver
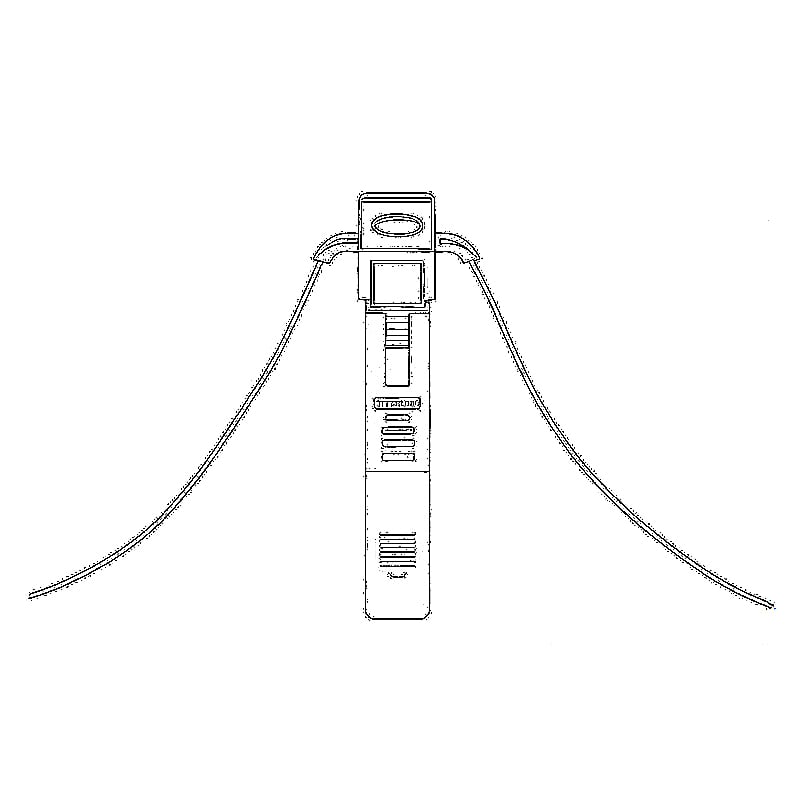
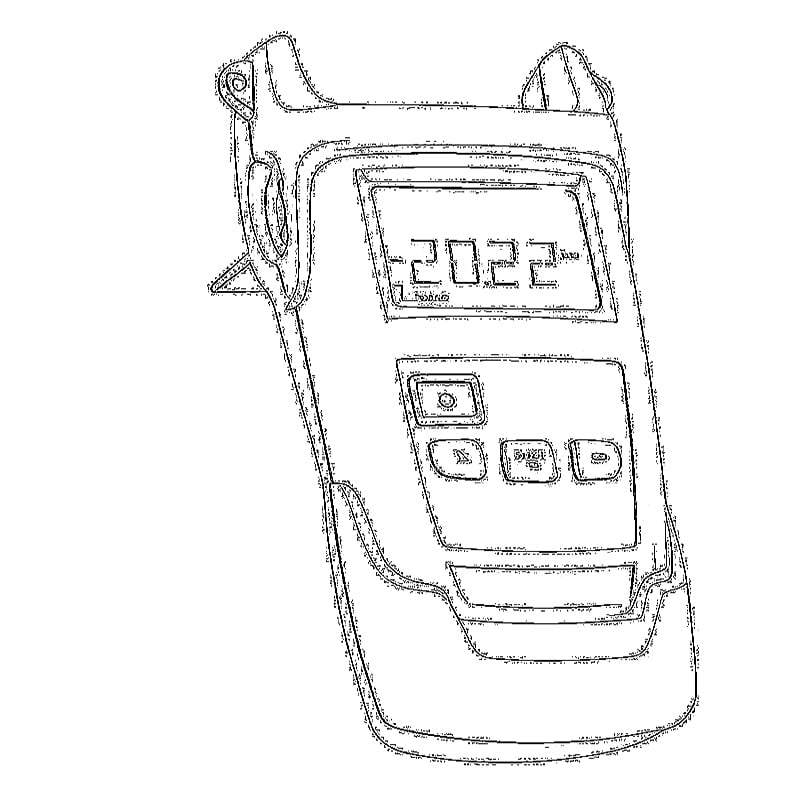
- Optical power meter (for testing signal strength)
- Cable management tools (zip ties, cable clips)
- Drill and appropriate bits (for wall penetrations)
- Multimeter (to check electrical interference)
- Network Hardware:
- Optical Network Terminal (ONT) provided by your ISP
- High-performance router
- Ethernet cables (Cat6a or higher for future-proofing)
- Network switch (if connecting multiple wired devices)
- Safety Gear:
- Protective eyewear (when working with fiber optics)
- Gloves (to handle cables and tools safely)
Pro Tip: Many ISPs provide a basic installation kit, but investing in quality tools like a precision fiber cleaver (e.g., Fujikura CT-06) ensures cleaner cuts and minimal signal loss.
Coordinate with Your ISP and Local Authorities
Before starting any physical work, contact your ISP to confirm the availability of FTTH in your area and schedule a pre-installation survey. In some cases, you may need to obtain permits for outdoor cable routing, especially if you live in a historic district or a homeowner association (HOA)-managed community.
Scenario: A Suburban Home in CaliforniaMike, a tech-savvy homeowner in San Diego, wanted to install FTTH but lived in an HOA with strict exterior modification rules. By coordinating with his ISP and HOA ahead of time, he was able to secure approval for underground cable routing, avoiding fines and ensuring a compliant installation.
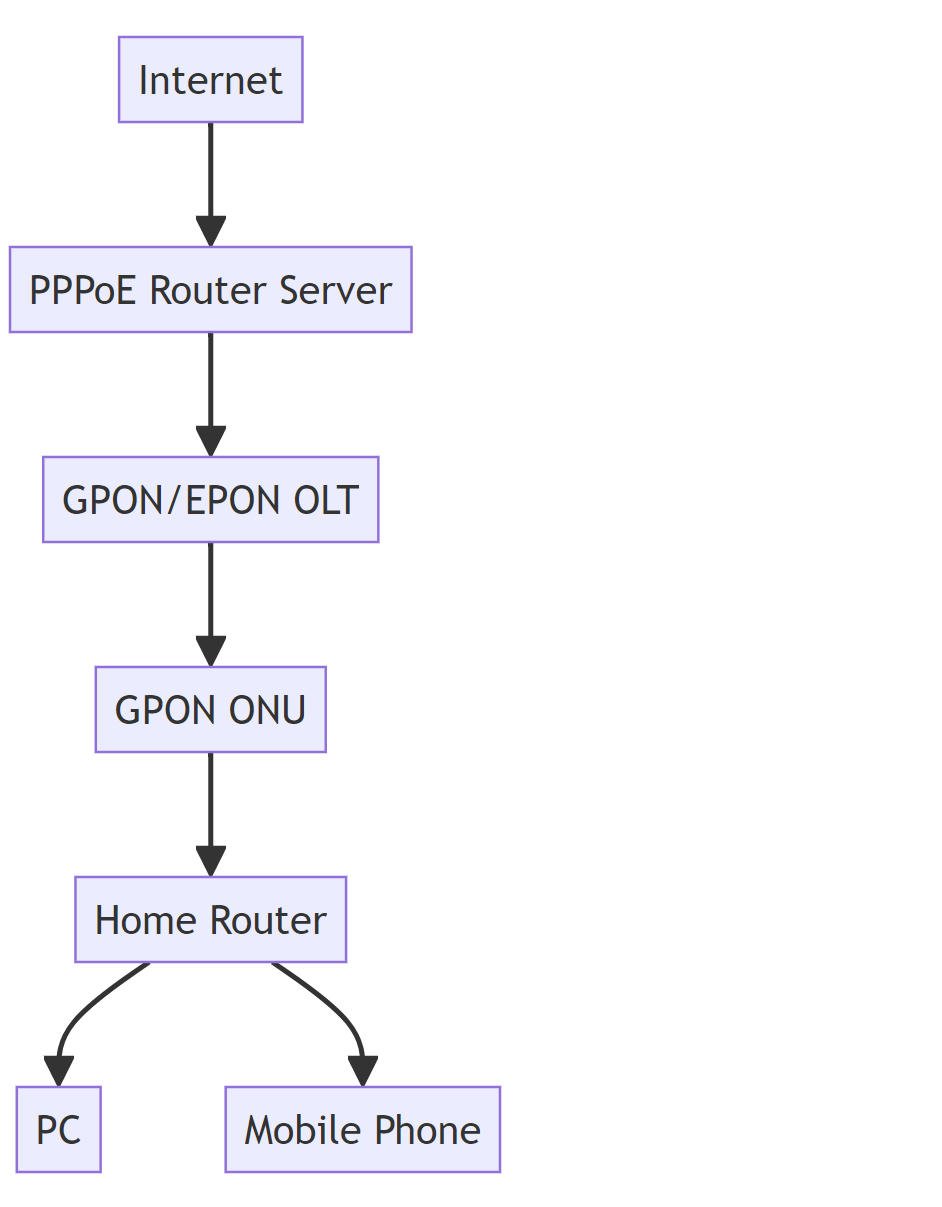
The FTTH Installation Process: Step-by-Step Walkthrough
With preparation complete, it’s time to begin the installation. The process can be divided into three main phases: outdoor cable routing, indoor setup, and network configuration. Each phase requires careful execution to ensure optimal performance.
Phase 1: Outdoor Cable Routing and Connection
The outdoor section of the FTTH installation involves bringing the fiber optic cable from the street or utility pole to your home. This step is critical for maintaining signal integrity and protecting the cable from environmental factors.
- Locate the Point of Entry (POE)The POE is where the ISP’s main fiber network connects to your property. In most cases, this is a utility box near the street or a designated spot on your property line. Use the pre-installation survey results to identify the shortest and most protected route from the POE to your home.
- Choose Between Aerial and Underground Routing
- Aerial Routing: Suitable for homes with easy access to utility poles. The fiber cable is attached to existing power lines using weatherproof clips.
- Underground Routing: Ideal for suburban areas or homes with no overhead access. The cable is buried at least 18 inches deep using a conduit for protection.
Case Study: A Rural Home in TexasLisa, a remote worker in rural Texas, opted for underground routing to avoid damage from frequent storms. She used a HDPE conduit (high-density polyethylene) to protect the fiber cable, which withstood multiple heavy rain events without issue.
- Terminate the Outdoor CableOnce the cable reaches your home, terminate the end using a weatherproof splice closure. This protects the fiber connections from moisture and physical damage. Use an optical power meter to test the signal strength, ensuring it falls within the ISP’s recommended range (-10 to -22 dBm).
Phase 2: Indoor Setup and Equipment Installation
With the outdoor cable in place, the next step is setting up the indoor components that will distribute the FTTH signal throughout your home.
- Install the Optical Network Terminal (ONT)The ONT is the brain of your FTTH setup, converting light signals from the fiber cable into electrical signals for your network. Follow these best practices:
- Location, Location, Location: Place the ONT in a central, ventilated area away from heat sources and electrical appliances. A study in Chicago found that installing the ONT in a central hallway improved signal distribution by 30% compared to a basement location.
- Mounting: Use the wall brackets provided with the ONT for secure installation. Ensure it’s at least 3 feet above the floor to prevent damage and improve airflow.
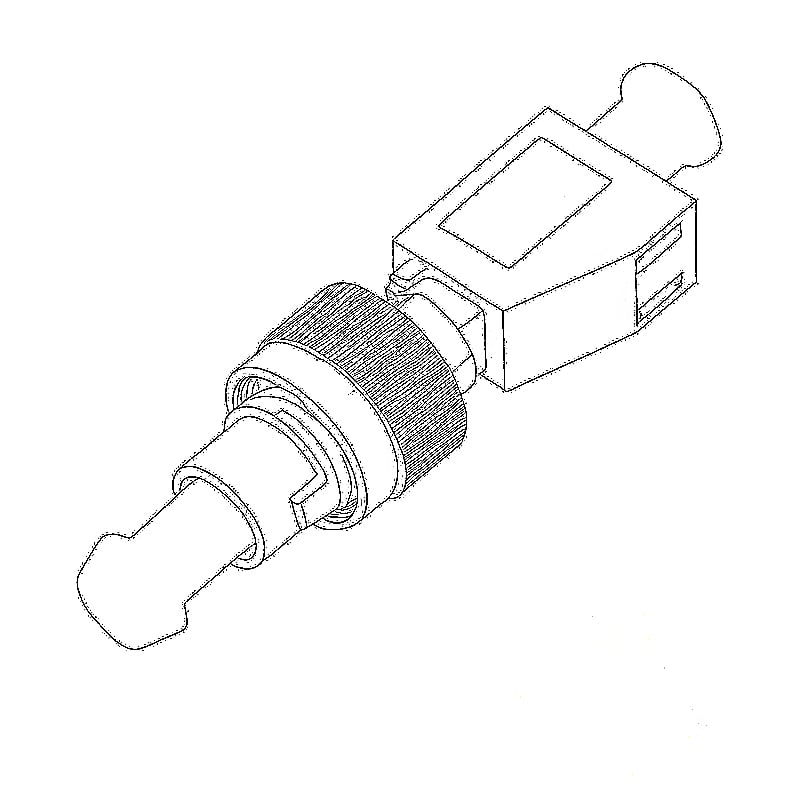
- Connection: Carefully connect the outdoor fiber cable to the ONT’s input port, using a SC or LC connector depending on your ISP’s configuration. Avoid sharp bends in the fiber, maintaining a minimum bend radius of 30mm.
- Set Up the Router and Network InfrastructureThe router acts as the gateway for your home network, distributing the FTTH connection to all your devices. Here’s how to optimize its placement and configuration:
- Router Placement: Position the router near the ONT for a short Ethernet connection. In a two-story home in Seattle, moving the router from the basement to the upstairs landing increased Wi-Fi coverage by 45%.
- Wired Connections: Use Cat6a or Cat7 Ethernet cables to connect the router to the ONT and any wired devices. A home office in New York saw a 20% speed increase by replacing Cat5e cables with Cat6a.
- Switch Installation: If you have multiple wired devices (e.g., gaming consoles, smart TVs), install a gigabit Ethernet switch. A family in Atlanta used a LULEEY switch to connect eight devices, ensuring each received full FTTH speeds.
- Cable Management for a Tidy and Efficient SetupProper cable management not only looks better but also prevents signal interference and makes future upgrades easier.
- Conceal Cables: Use wall conduits or baseboard raceways to hide Ethernet cables. In a modern apartment in Miami, concealing cables reduced electromagnetic interference, improving speed consistency by 15%.
- Label Connections: Clearly label each cable at both ends to simplify troubleshooting. A color-coded labeling system helped a family in Boston quickly identify which cable connected to their kids’ gaming room.
- Organize with Cable Ties: Bundle cables together with reusable zip ties to prevent tangling. This reduced clutter and made it easier to add new devices in a home in Portland.
Phase 3: Network Configuration and Testing
With the hardware in place, the final phase involves configuring your network settings and testing performance to ensure everything is working as expected.
- Power On and Initialize Equipment
- Start by powering on the ONT and waiting for the status lights to stabilize. The PON (Passive Optical Network) light should be solid green, indicating a successful connection to the ISP’s network.
- Next, power on the router and allow it to complete the boot process. Most modern routers have a setup wizard that guides you through connecting to the ONT.
- Configure Router Settings for Optimal Performance
- Basic Setup: Follow the router’s wizard to set up a Wi-Fi network name (SSID) and password. Use a strong password with a mix of letters, numbers, and symbols to protect your network.
- Advanced Settings: For optimal FTTH performance, adjust the following:
- MTU (Maximum Transmission Unit): Set to 1500 for Ethernet connections to avoid fragmentation. A user in Phoenix increased download speeds by 12% by correcting an incorrectly set MTU.
- DNS Servers: Switch from your ISP’s default DNS to faster alternatives like Cloudflare (1.1.1.1) or Google (8.8.8.8). A student in Berlin reduced page load times by 300ms using Cloudflare DNS.
- QoS (Quality of Service): Enable QoS to prioritize bandwidth for critical applications like video conferencing or online gaming. A family in Dallas reduced gaming lag by 40% by prioritizing their gaming console.
- Test Your FTTH ConnectionUse reliable speed testing tools to verify your connection meets the expected performance:
- Speedtest.net: Run tests from multiple devices and locations in your home to check for coverage gaps. A home in Houston discovered a dead zone in the master bedroom that needed a Wi-Fi extender.
- Ping Test: Use the command prompt (Windows) or terminal (Mac) to ping a stable server (e.g., 8.8.8.8) and check for latency and packet loss. A gamer in Germany reduced ping from 45ms to 18ms by optimizing router settings.
- Upload/Download Speed: Ensure both upload and download speeds meet your ISP’s advertised rates. A freelancer in Denver confirmed her 100Mbps upload speed was essential for sending large design files.
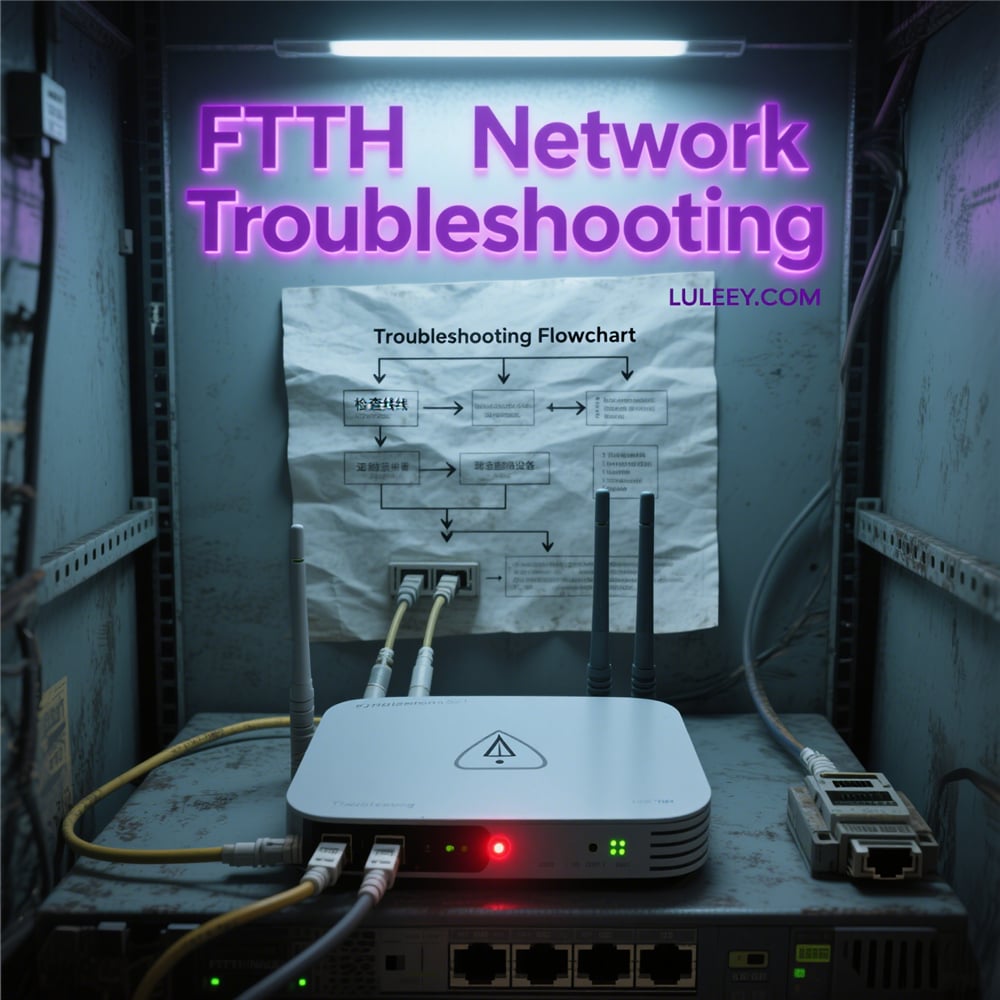
Troubleshooting Common Installation Issues
Even with careful planning, installation issues can arise. Here’s a guide to troubleshooting the most common problems the home users face during FTTH setup.
No Signal from the ONT
If the PON light on your ONT is not green, check the following:
- Fiber Cable Connection: Ensure the fiber cable is securely plugged into the ONT and the outdoor splice closure. A loose connection in a home in Seattle caused intermittent signal loss that was resolved by re-seating the connector.
- Cable Damage: Inspect the fiber cable for visible breaks or kinks. A sharp bend can cause significant signal loss. In a Chicago home, replacing a kinked fiber cable improved speed from 50Mbps to 900Mbps.
- Signal Attenuation: Use an optical power meter to measure signal strength. If it’s below -25 dBm, contact your ISP to check the outdoor cable and POE connection.
Weak Wi-Fi Coverage
Poor Wi-Fi performance is a common complaint after FTTH installation. Here’s how to fix it:
- Router Placement: Move the router to a more central location. A two-story home in Atlanta saw a 60% improvement in upstairs coverage by moving the router from the basement to the living room.
- Channel Congestion: Use a Wi-Fi analyzer app (e.g., Wi-Fi Analyzer for Android) to find the least crowded channel. A user in Montreal switched from channel 6 to channel 11 and reduced interference by 50%.
- Upgrade to Wi-Fi 6: If your router supports Wi-Fi 6, enable it for faster speeds and better device management. A family in Boston with multiple connected devices saw a 40% speed increase after enabling Wi-Fi 6.
Intermittent Speed Drops
Fluctuating speeds can be frustrating, but they’re often fixable:
- Overheating Equipment: Ensure the ONT and router have proper ventilation. A home in Phoenix resolved speed drops by installing a small fan near the ONT, which was overheating in a closed cabinet.
- Firmware Updates: Check for updates to your router’s firmware. A bug in an Asus router’s firmware was causing 20% speed loss in a Miami home, which was resolved with an update.
- Ethernet Cable Issues: Replace suspect Ethernet cables with Cat6a or higher. A faulty cable in a New York office was causing intermittent drops that were fixed by swapping the cable.
Advanced Installation Tips for Tech-Savvy Homeowners
For those looking to take their FTTH setup to the next level, these advanced tips offer enhanced performance and future-proofing.
Future-Proof Your Installation with Multi-Gigabit Hardware
Invest in equipment that supports future speed upgrades:
- Multi-Gigabit Router: Choose a router with 2.5G or 10G Ethernet ports, to handle upcoming speed increases. A homeowner in San Francisco future-proofed his setup with a 10G router, ready for his ISP’s planned gigabit upgrade.
- Cat6a/Cat7 Cabling: Install Cat6a or Cat7 cables throughout your home, even if you’re not using their full capacity yet. A home in London that pre-wired with Cat7 was able to upgrade to 10Gbps speeds without rewiring when available.
Create a Smart Home Network with Mesh Wi-Fi
For large homes, a mesh Wi-Fi system ensures consistent coverage:
- Mesh System Setup: Place mesh nodes in strategic locations to eliminate dead zones. A 5,000 sq. ft. home in Texas used the Wifi mesh system to cover all floors and the backyard, resulting in seamless connectivity.
- Seamless Roaming: Mesh systems allow devices to switch between nodes without dropping the connection, ideal for video calls or gaming on the move.
Implement Home Network Security Best Practices
Protect your high-speed FTTH network from threats:
- Enable WPA3 Encryption: The latest Wi-Fi security protocol provides stronger encryption than WPA2. A user in Vancouver upgraded to WPA3 and saw a minor speed boost along with improved security.
- Set Up a Guest Network: Create a separate network for visitors to prevent access to your main network. A family in Portland used a guest network to protect their smart home devices from potential threats.
- Install a Firewall: Use the router’s built-in firewall or add a dedicated hardware firewall for enhanced protection. A small business owner in Seattle added a UniFi Security Gateway to his FTTH setup, improving network security.
Installation Case Studies
Seeing how others have successfully installed FTTH in their homes provides valuable insights. Here are three diverse case studies from the Europe and America.
Case Study 1: Historic Home Renovation in Boston
Challenge: Tom and Emily purchased a 1920s brownstone in Boston that needed complete wiring for FTTH. The home’s plaster walls and narrow staircases made cable routing difficult.
Solution: They worked with a professional installer to:
- Use surface-mounted conduits painted to match the walls for a discreet look
- Install the ONT in a central closet with ventilation
- Set up a mesh Wi-Fi system (Eero Pro) to cover three floors
- Pre-wire Cat6a cables in the walls during renovation
Result: A seamless FTTH setup that blends with the home’s historic charm, supporting remote work, online learning, and 4K streaming without issues.
Case Study 2: Apartment Living in Manhattan
Challenge: James lives in a small Manhattan apartment with strict rules against permanent modifications. He needed an FTTH setup that was temporary but high-performing.
Solution: He opted for:
- A temporary outdoor cable route secured with removable clips
- ONT mounted on a wall using adhesive strips
- A compact router placed on a bookshelf
- Cable management using raceways that stick to the baseboards
Result: A professional-looking installation that can be removed without damage, delivering 900Mbps speeds for gaming and video editing.
Case Study 3: Off-Grid Cabin in Colorado
Challenge: Lisa’s mountain cabin is 500 feet from the nearest utility pole, with no underground access. She needed a rugged FTTH setup that could withstand harsh winters.
Solution: The installation included:
- Aerial routing with weatherproof fiber cable
- ONT installed in a heated outdoor enclosure
- Underground conduit for the last 50 feet to the cabin
- A backup power supply for the ONT and router
Result: A reliable FTTH connection that stays operational during snowstorms, enabling Lisa to work remotely and enjoy streaming services.
Maintenance and Upkeep for Long-Term Performance
To ensure your FTTH installation continues to perform at its best, regular maintenance is essential.
Monthly Maintenance Routine
- Clean Equipment: Dust the ONT and router vents to prevent overheating. A home in Phoenix reduced speed drops by 60% by cleaning their router monthly.
- Check Connections: Inspect all cable connections for looseness or damage.
- Run Speed Tests: Use Speedtest.net to monitor performance and catch issues early.
Annual Maintenance Tasks
- Professional Signal Check: Have an ISP technician test the optical signal to ensure it’s within optimal range.
- Firmware Updates: Ensure your router and ONT have the latest firmware for security and performance.
- Cable Inspection: Check outdoor cables for signs of weather damage, especially after harsh seasons.
Preparing for Upgrades
- Monitor ISP Announcements: Stay informed about planned speed upgrades and ensure your equipment can support them.
- Keep Documentation: Maintain records of your installation, including cable routes and equipment models, to simplify future upgrades.
Conclusion: Enjoy the Benefits of a Professionally Installed FTTH Network
By following this comprehensive guide, you’ve successfully installed an FTTH network that delivers gigabit speeds, reliable connectivity, and the flexibility to support all your home’s digital needs. Whether you’re streaming 4K content, working remotely, or managing a smart home, your optimized FTTH setup provides the foundation for a seamless online experience.
Remember, the key to long-term performance is regular maintenance and staying proactive about hardware updates. As technology evolves, your preparedness will ensure you can take full advantage of future speed upgrades and new networking technologies.
Ready to enhance your FTTH setup? Explore our selection of high-performance routers, durable fiber optic cables, and advanced network management tools, all designed to maximize your fiber connection’s potential. Start enjoying the true power of FTTH today!
LULEEY FTTH FAMILY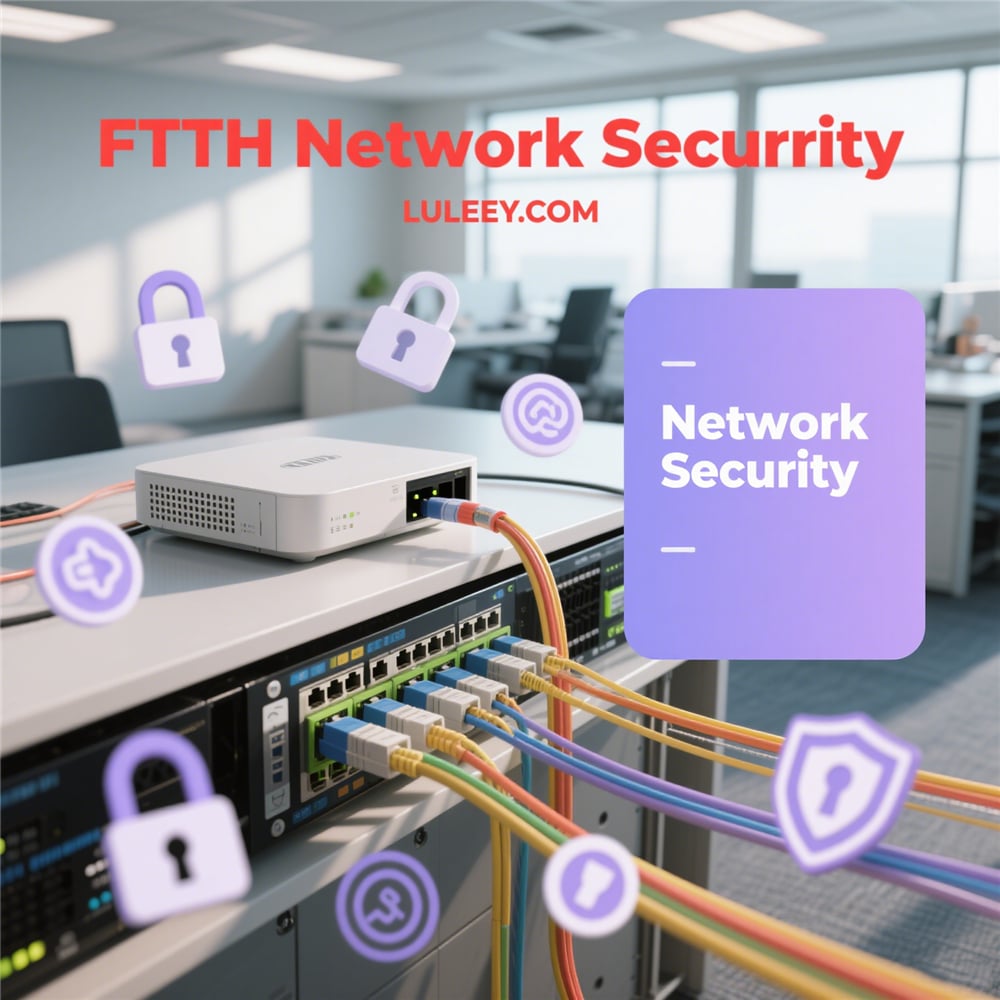

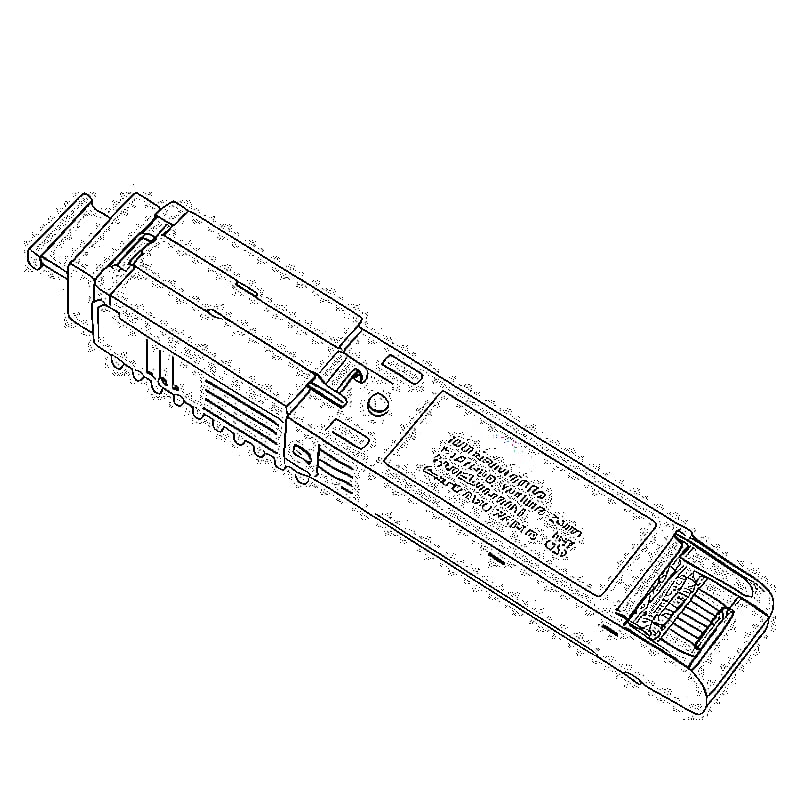
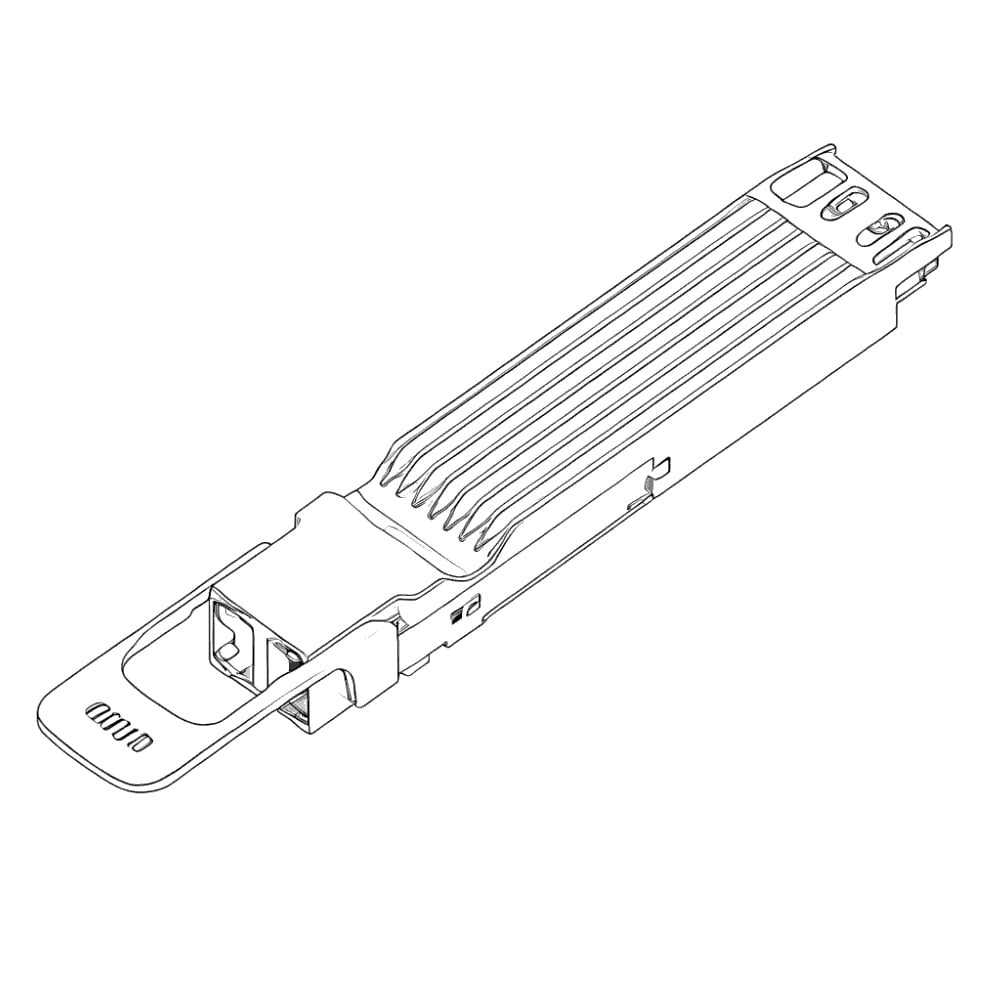
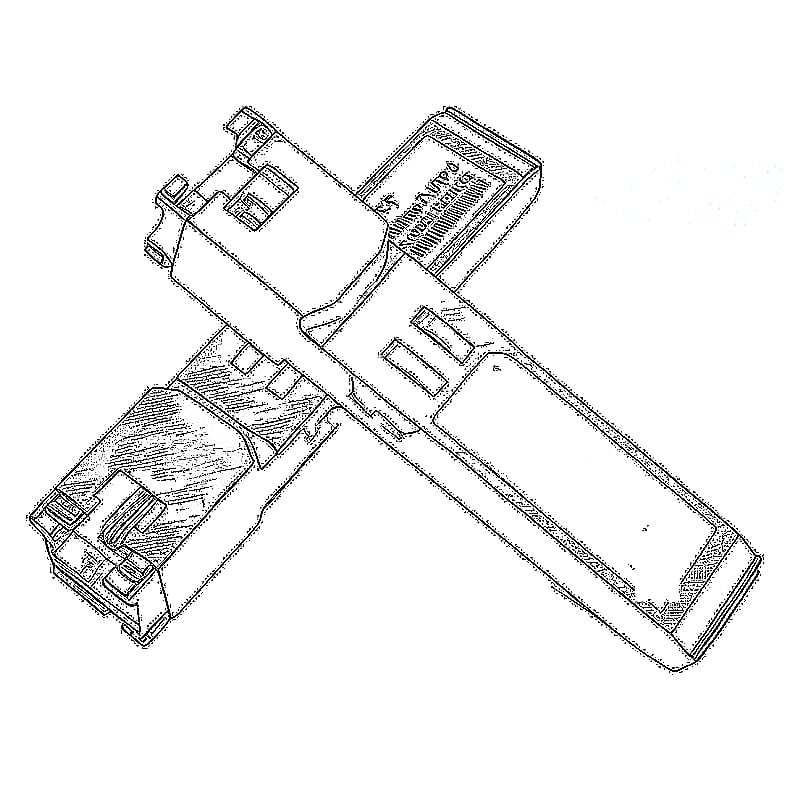
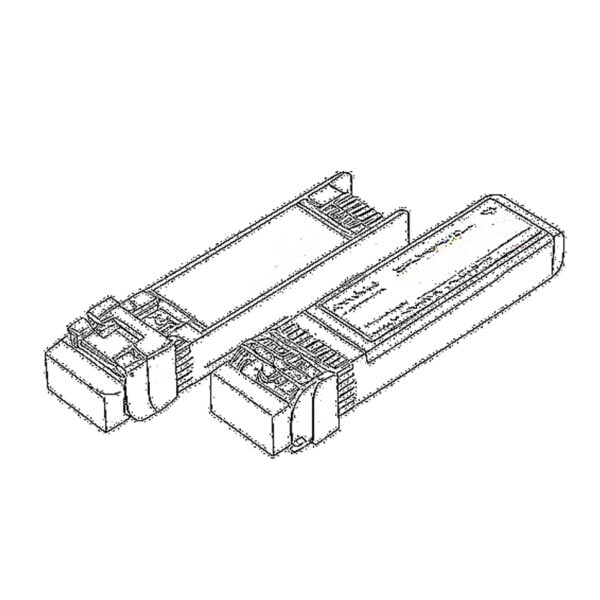 SFP/SFP+ (1G/2.5G/5G/10G)
 SFP-T (1G/2.5G/10G)
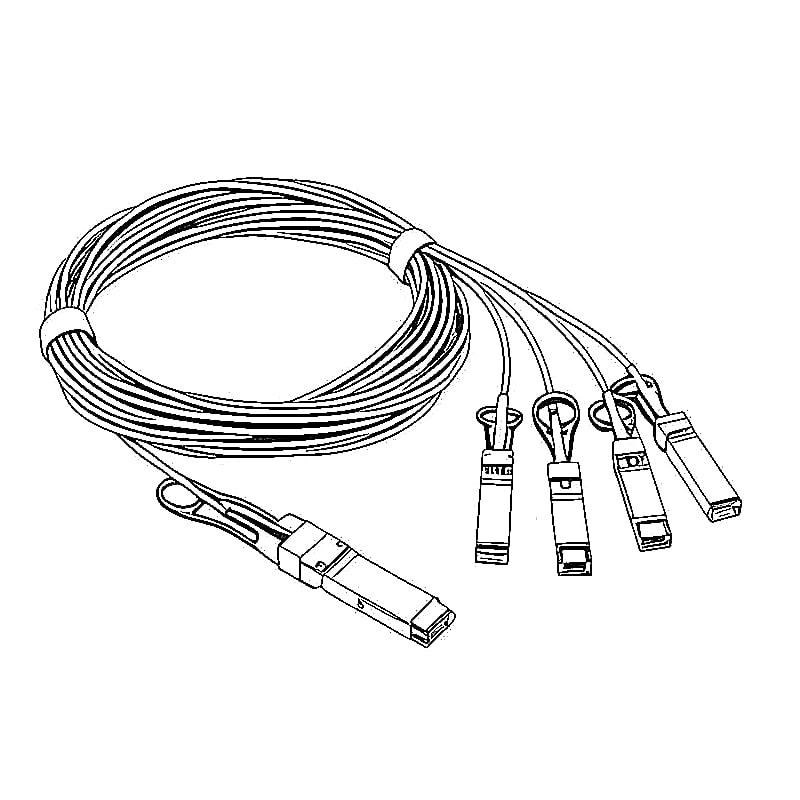
 AOC Cable 10G/25G/40G/100G
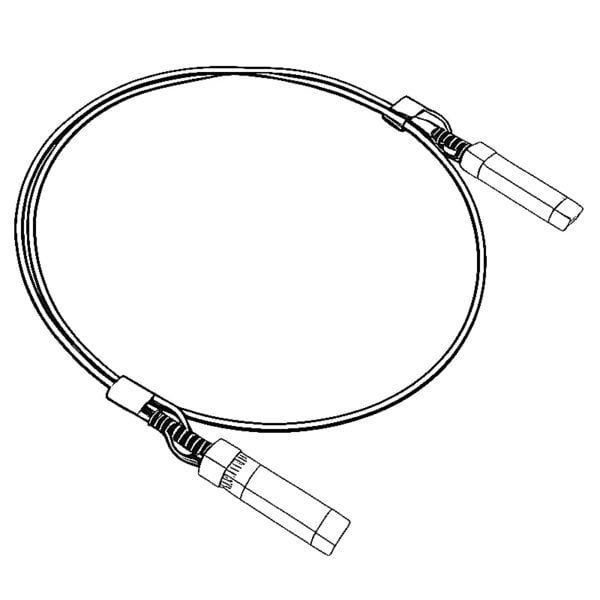 DAC Cable 10G/25G/40G/100G
 QSFP28 QSFP+ SFP28 100G/40G/25G
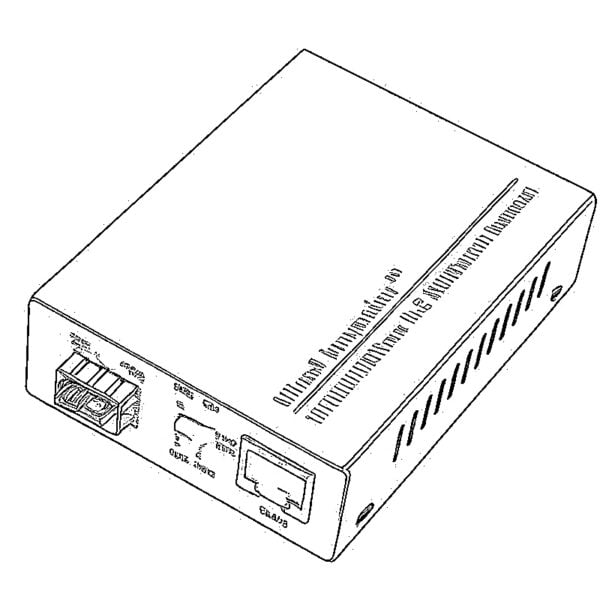
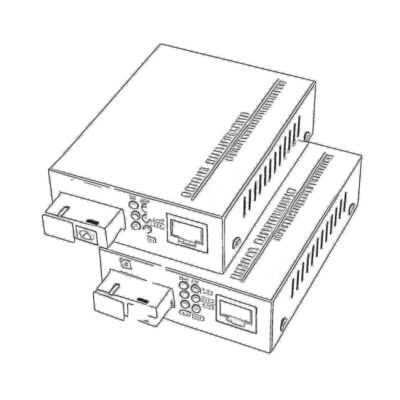 Copper to Fiber Media Converters
 Fiber Media Converter PCBA Board
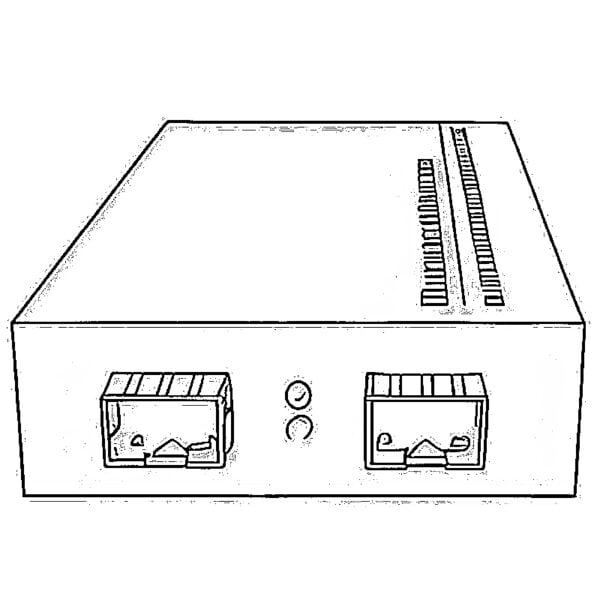 OEO Fiber Media Converters
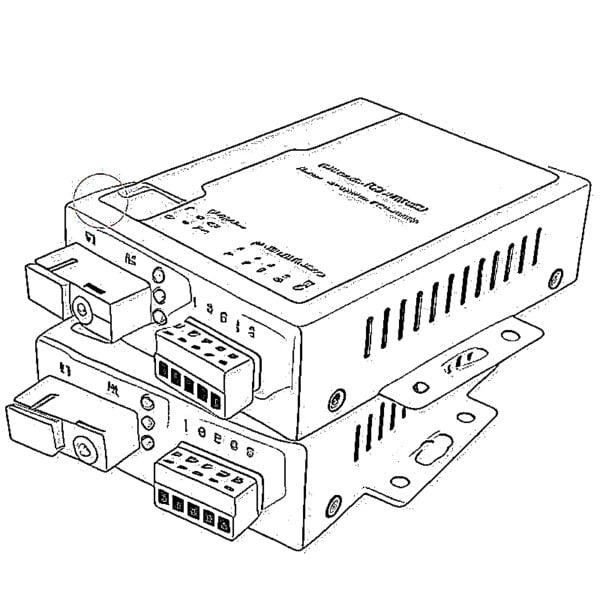 Serial to Fiber Media Converters
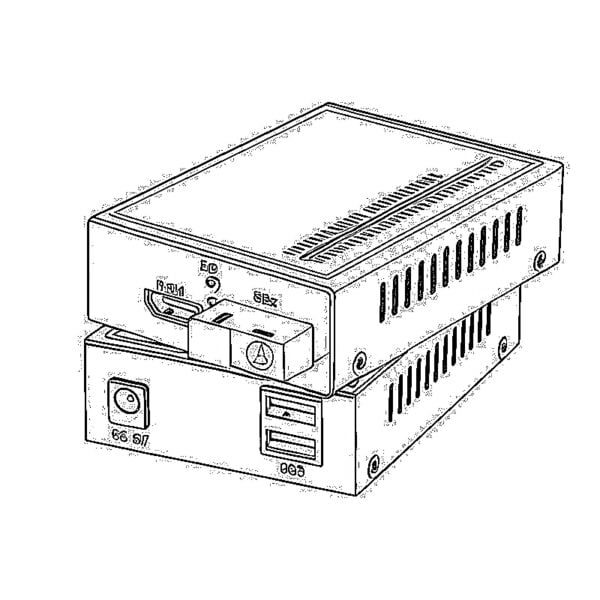 Video to Fiber Media Converters
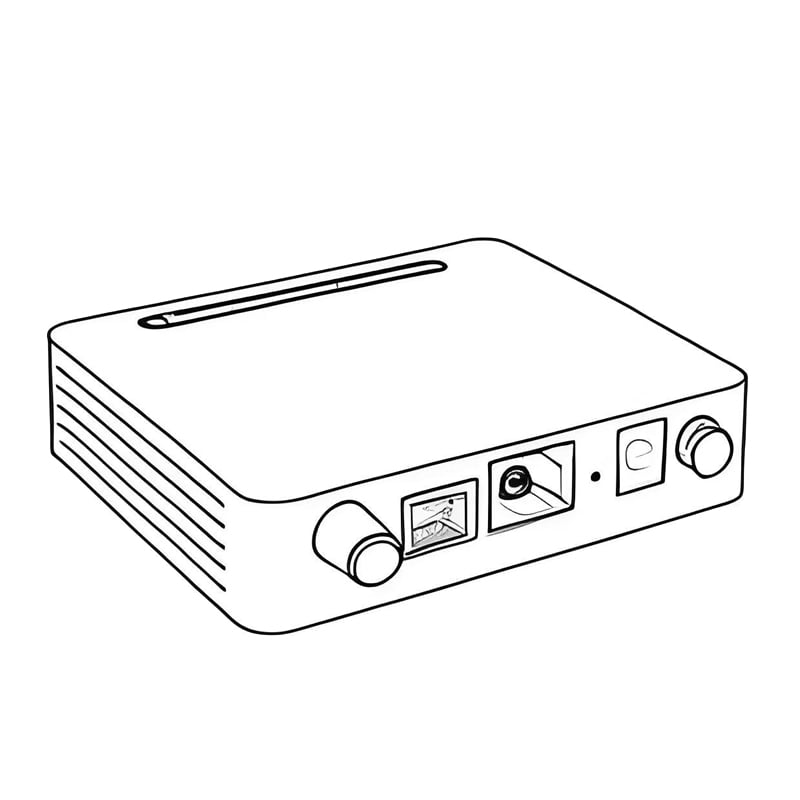
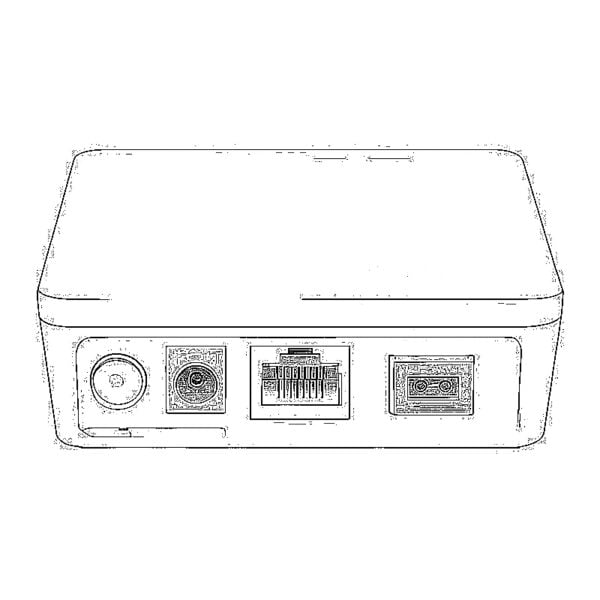 1000M GPON/EPON ONU
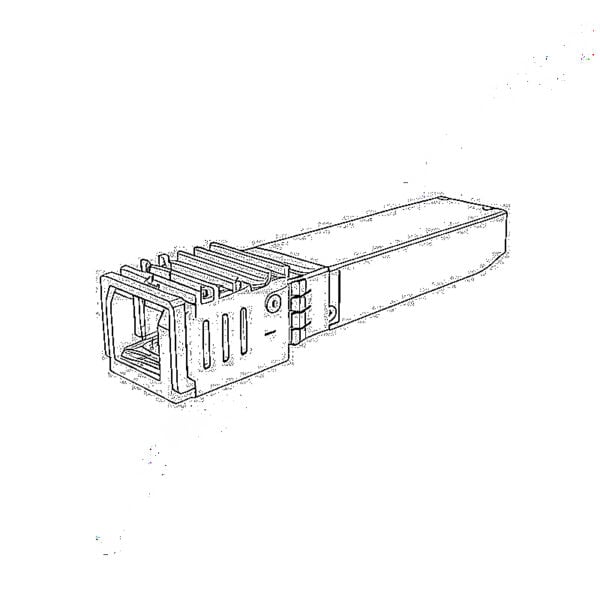 10G EPON ONU/XG-PON/XGS-PON
 2.5G GPON/XPON STICK SFP ONU
 POE GPON/EPON ONU
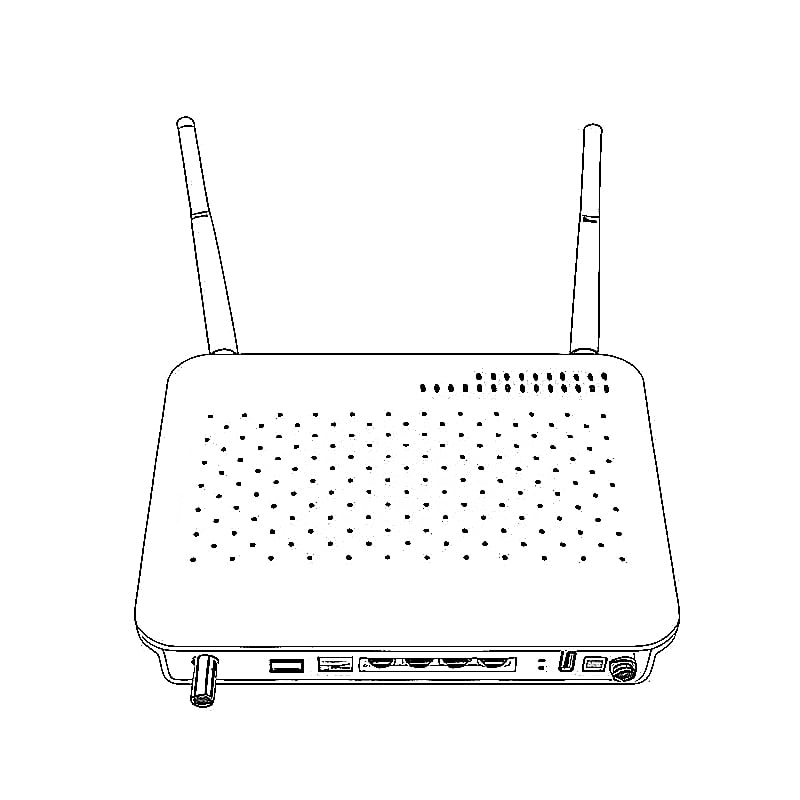
 Wireless GPON/EPON ONT
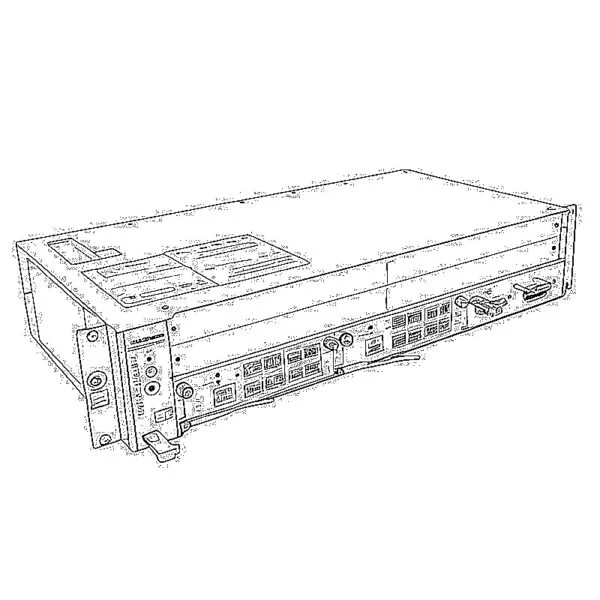
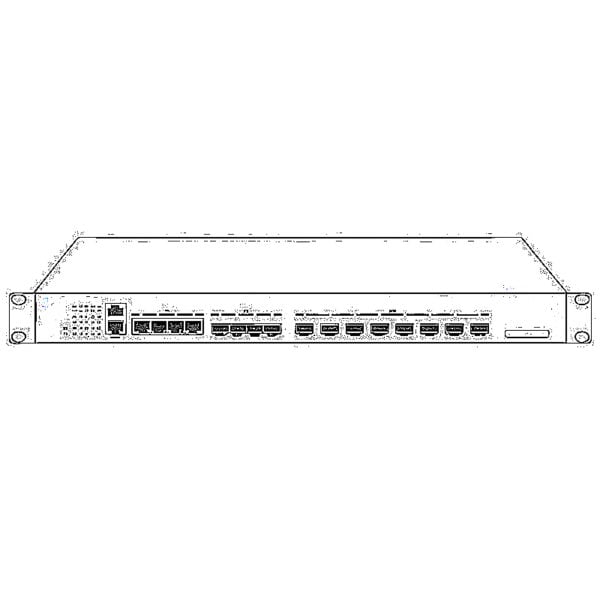 EPON OLT
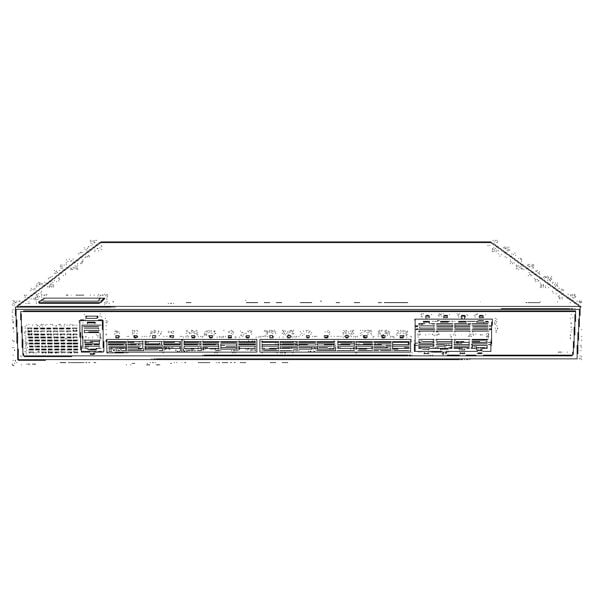 GPON OLT
 SFP PON Module
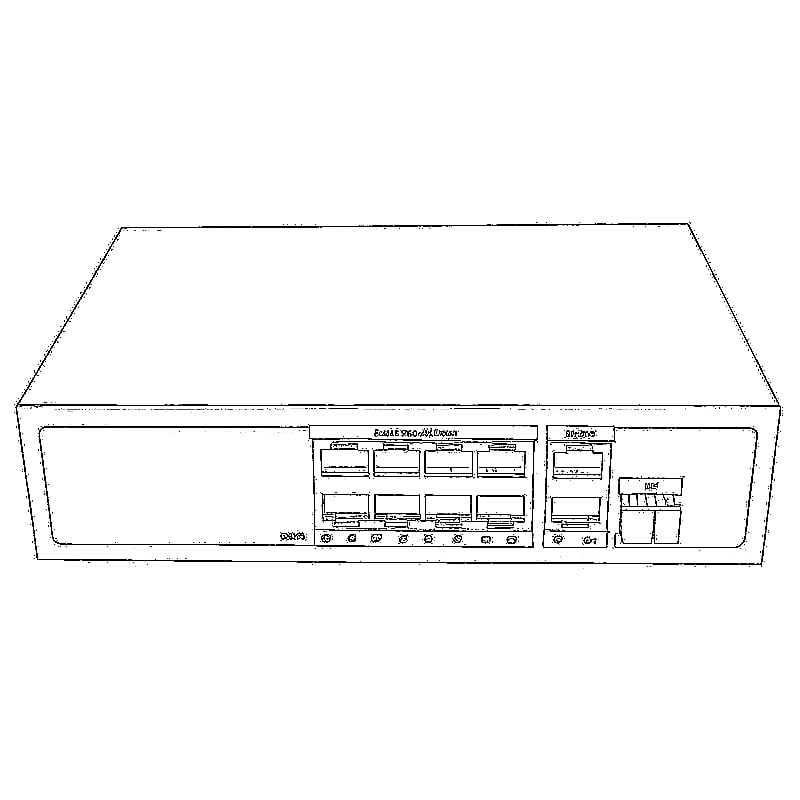
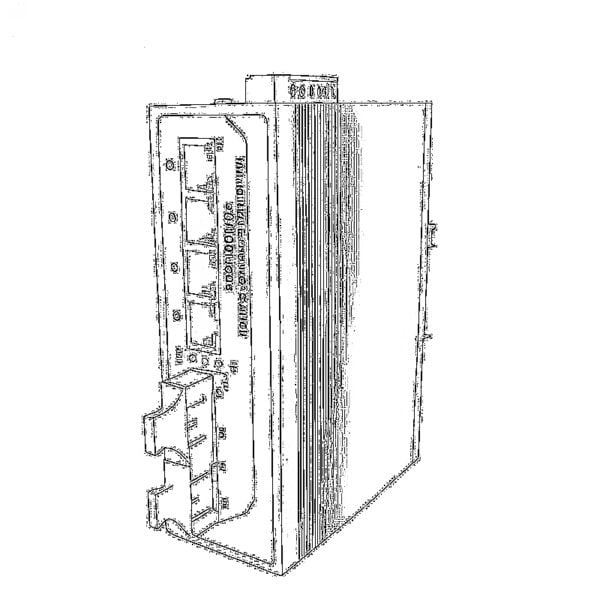 Industrial Switches
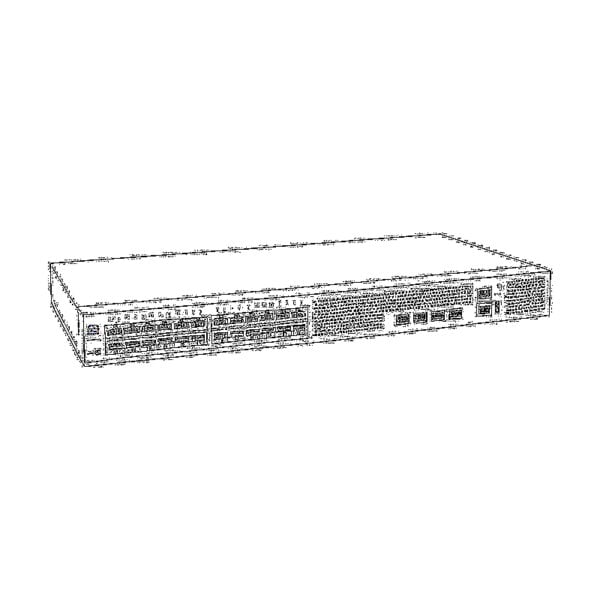 Managed Switches
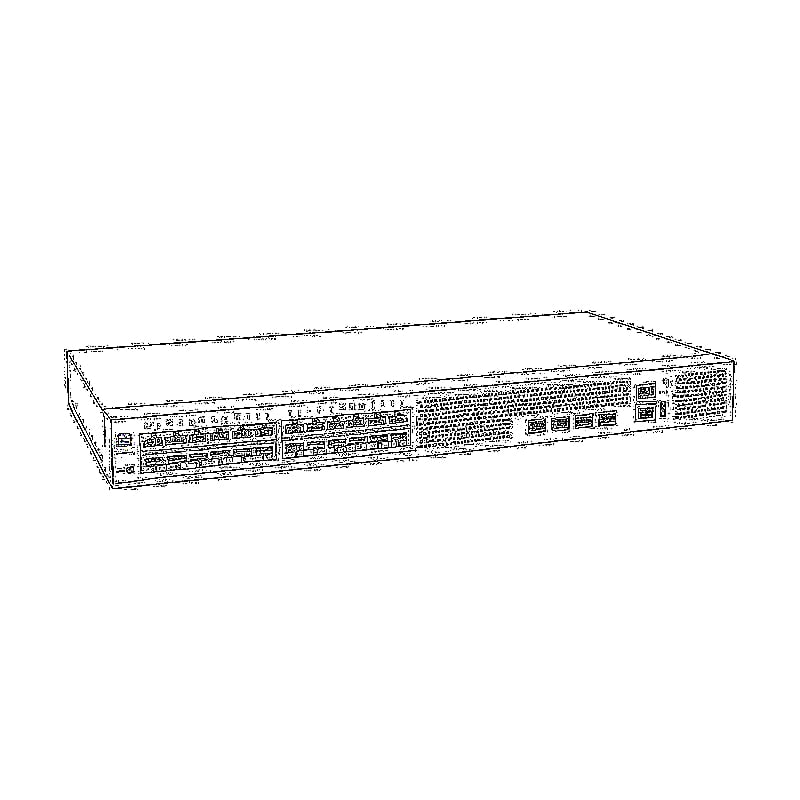
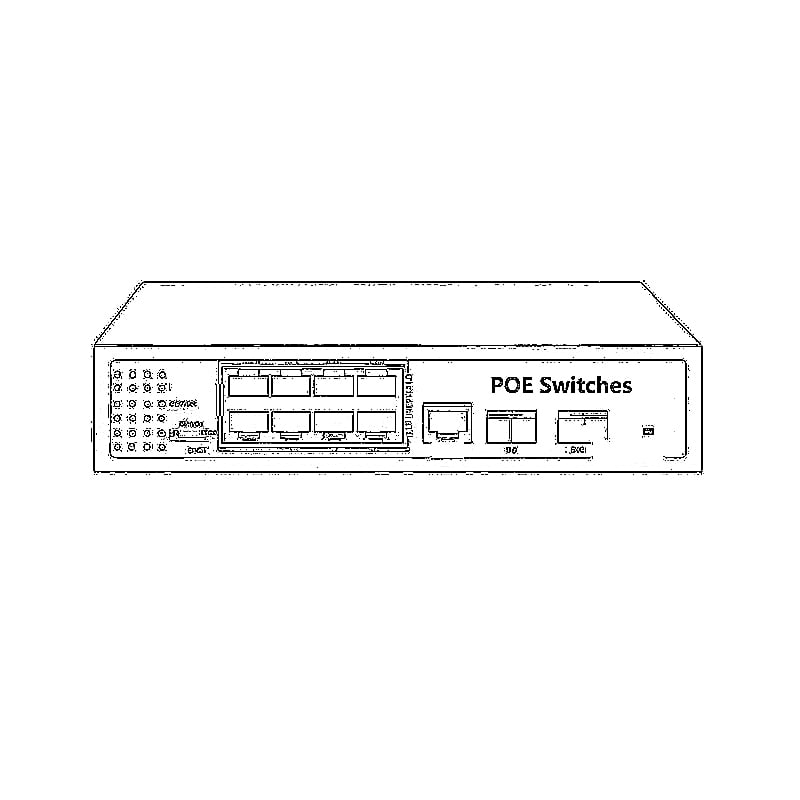
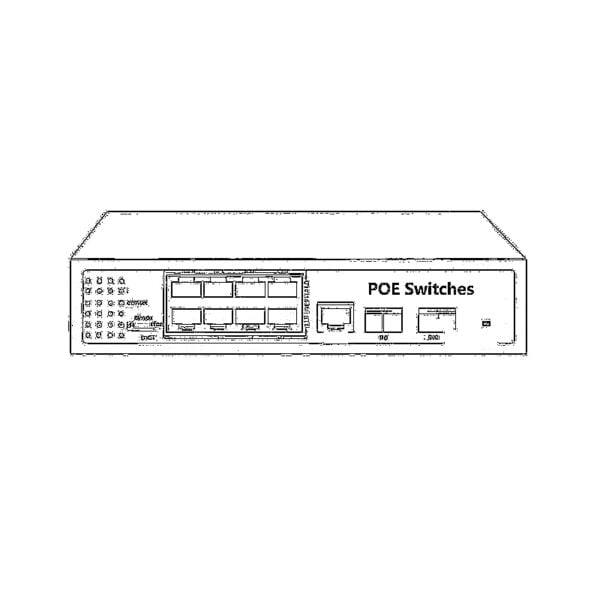 POE Switches
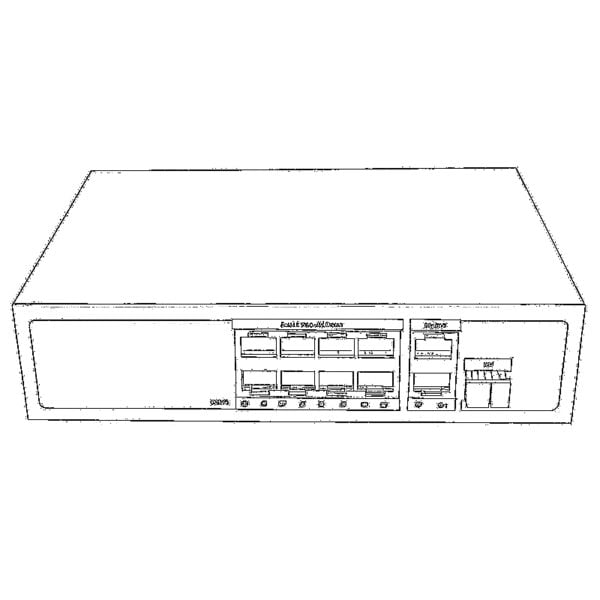 Unmanaged Switches
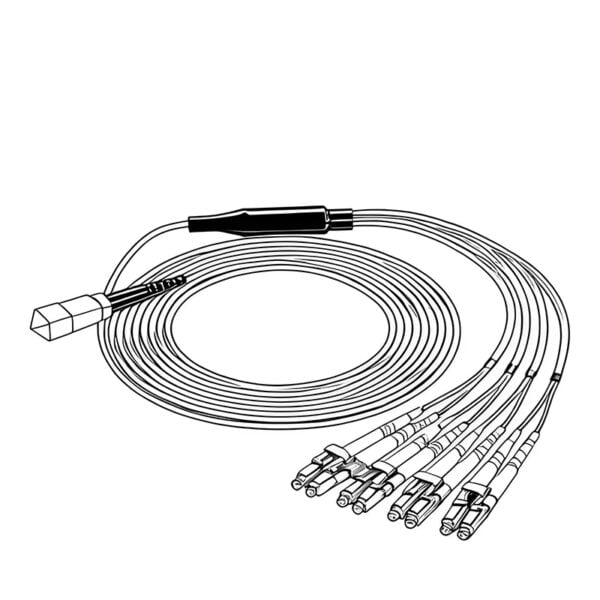 MTP/MPO Fiber Cables
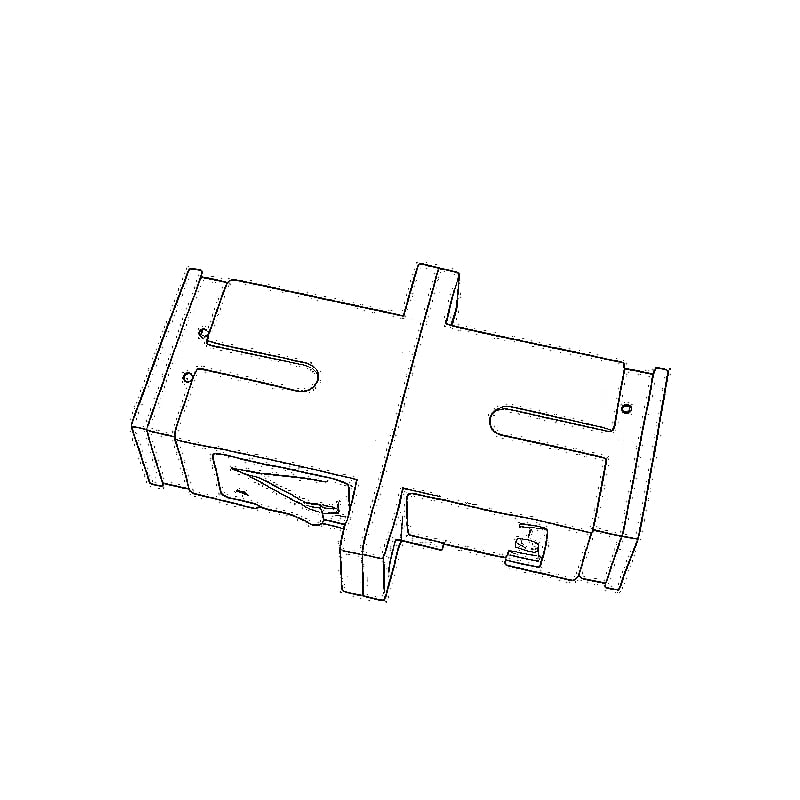
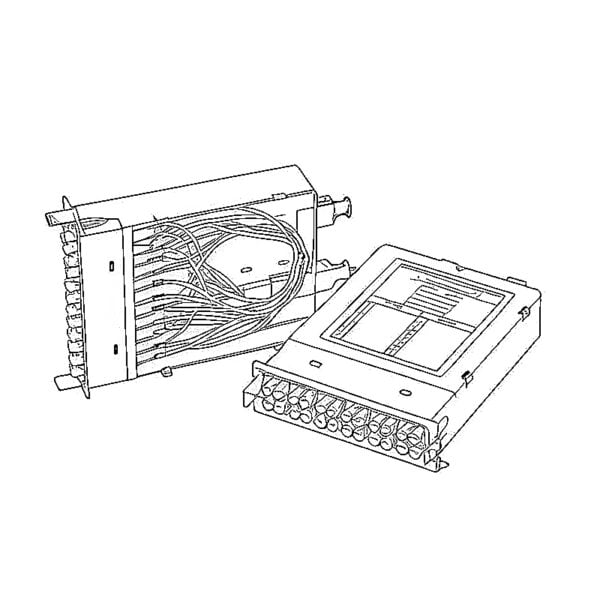 Fiber Optic Cassettes
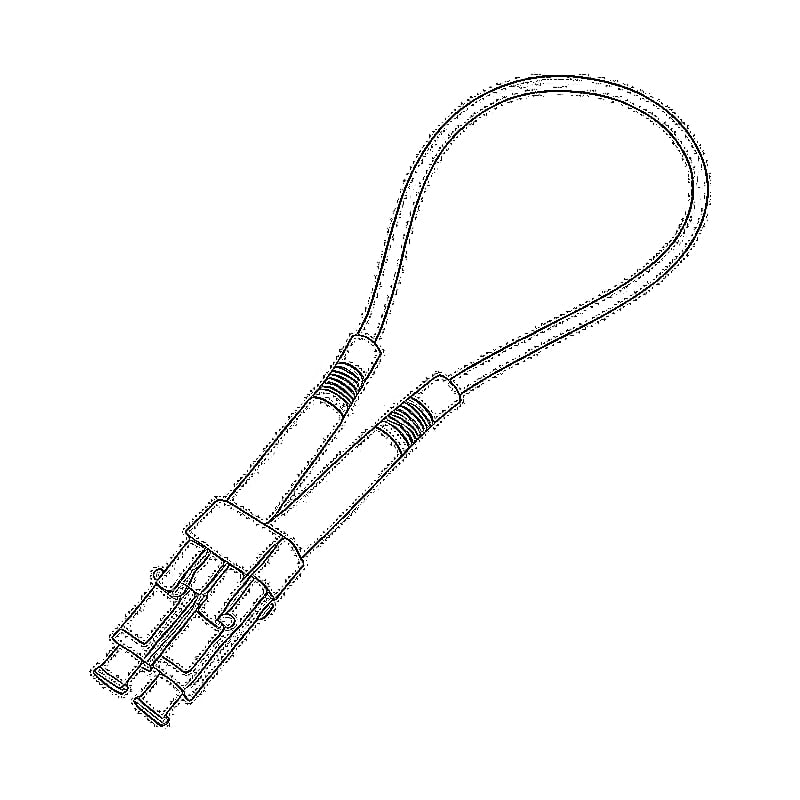
 Fiber Optic Loopback
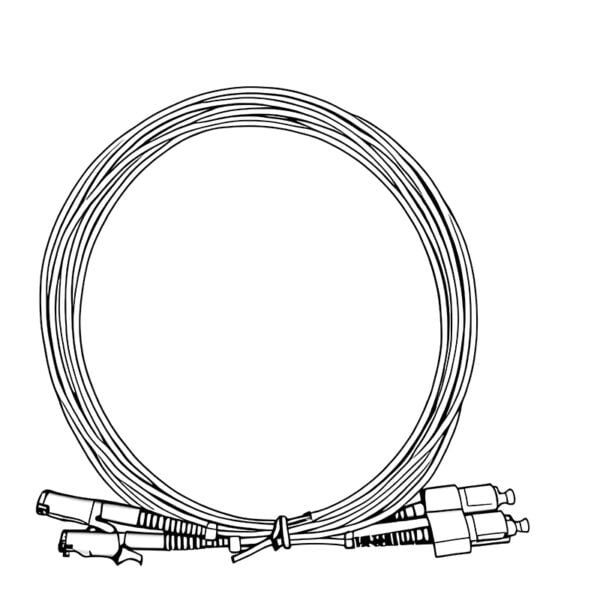
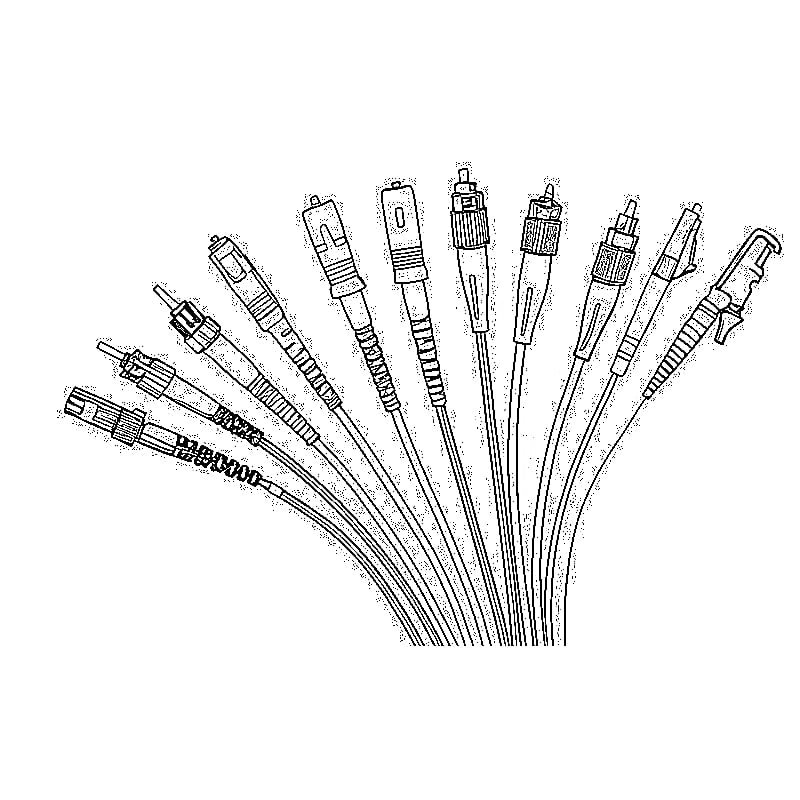
 Optic Cables and Fiber Pigtails
 Optical Splitters and Splitter Box
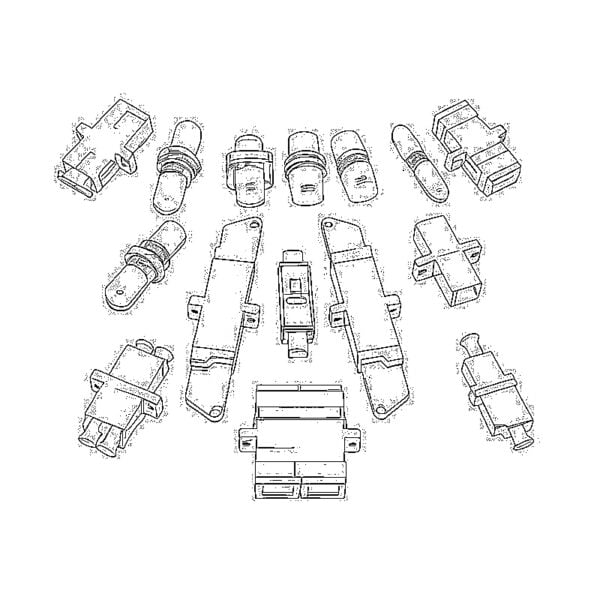
 Fiber Flange Connectors
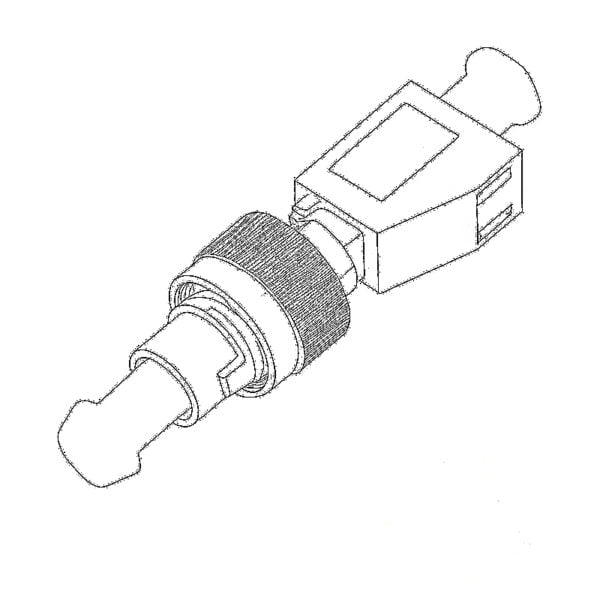 Optical Adapters
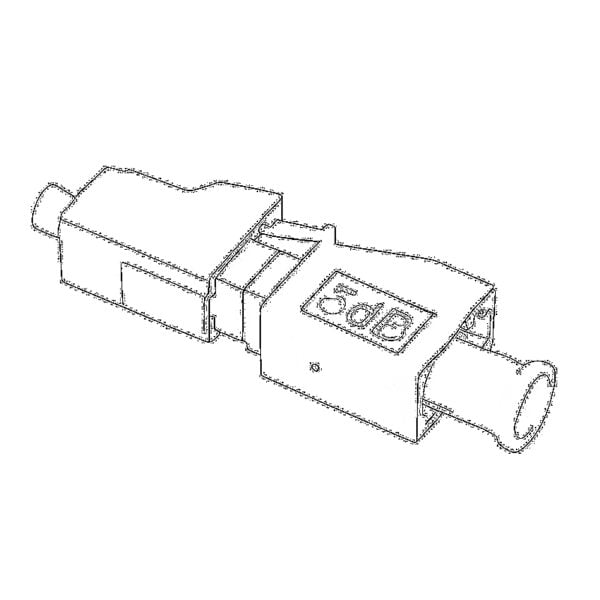 Optical Attenuator
 Quick Connector and Connector Panel
 CATV Amplifier
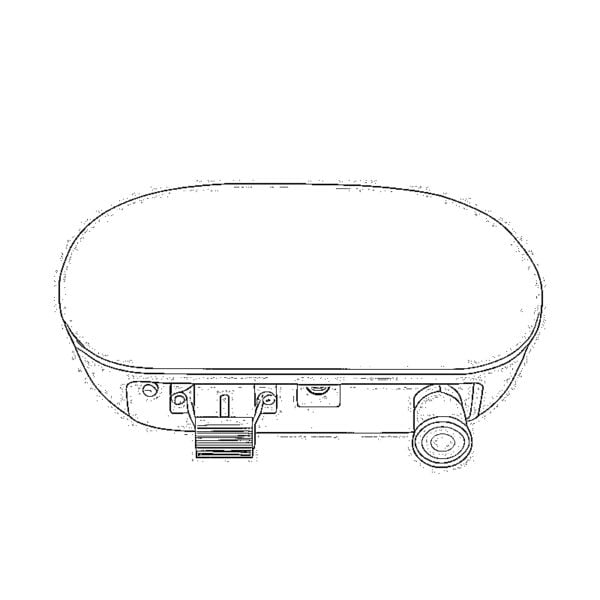 CATV Optical Receiver
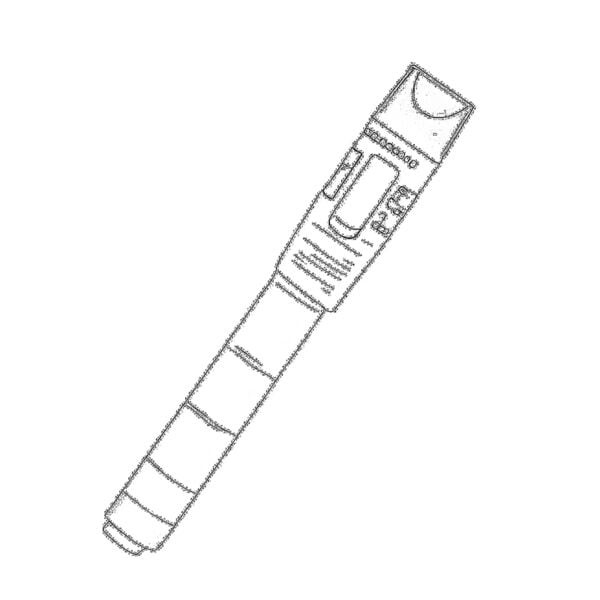 Visual Fault Locator
 OTDR
OTDR Optical Power Meter
 Fiber Optic Identifier
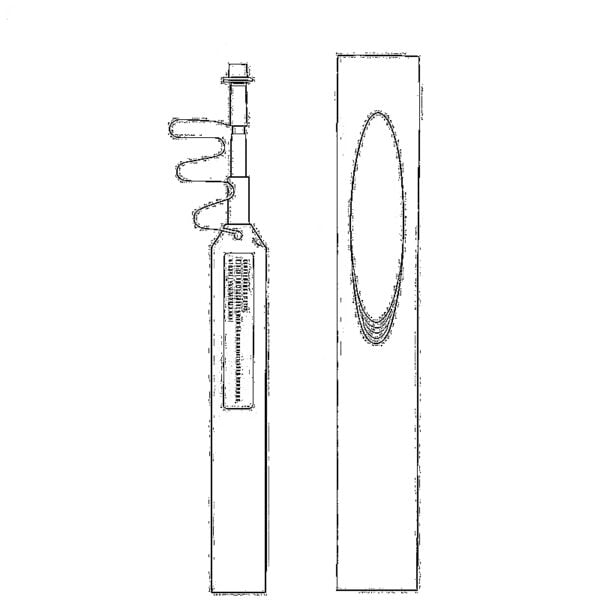 Fiber Optic Cleaners
 Fiber Cleavers & Fiber Strippers
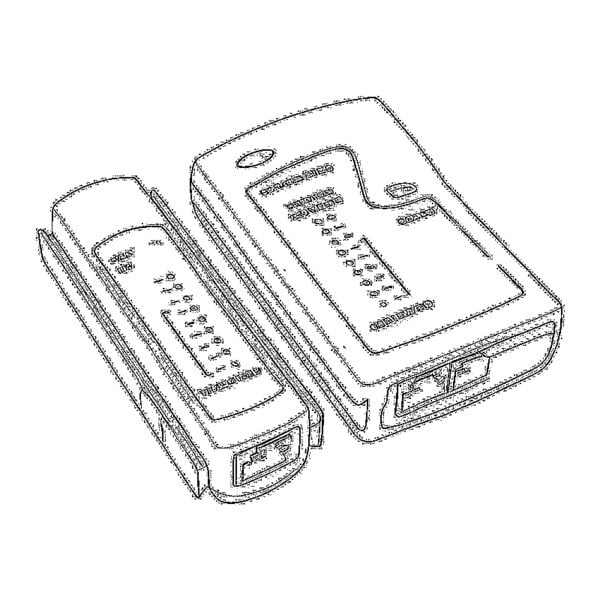 Copper Tools