Customs duties are the responsibility of customers, but standard logistics support DDP to most countries, duty-free such as US, DE, UK, CA, FR, IT, PL, AT, JP…

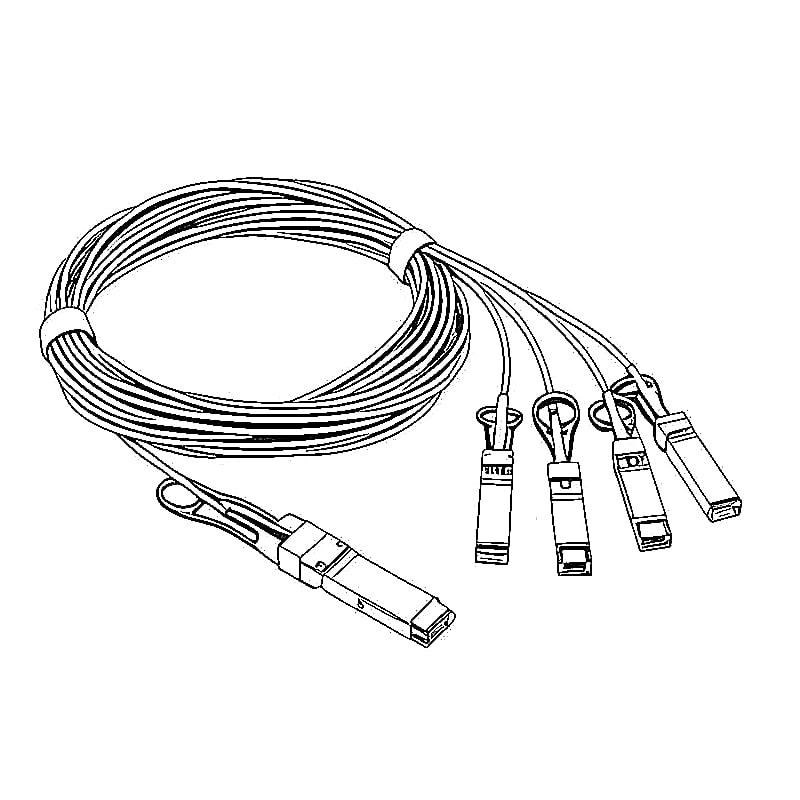
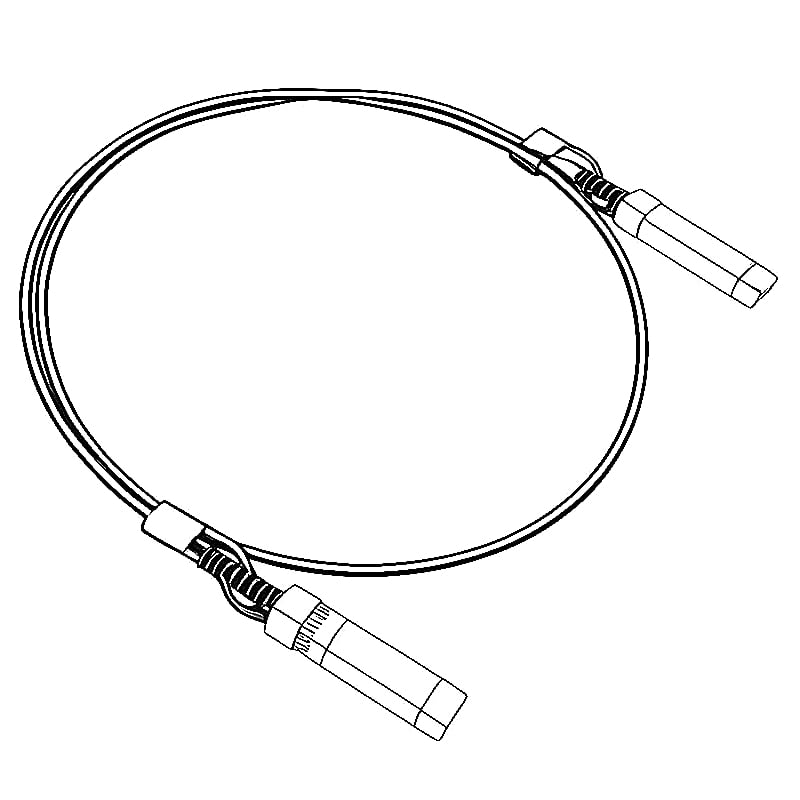

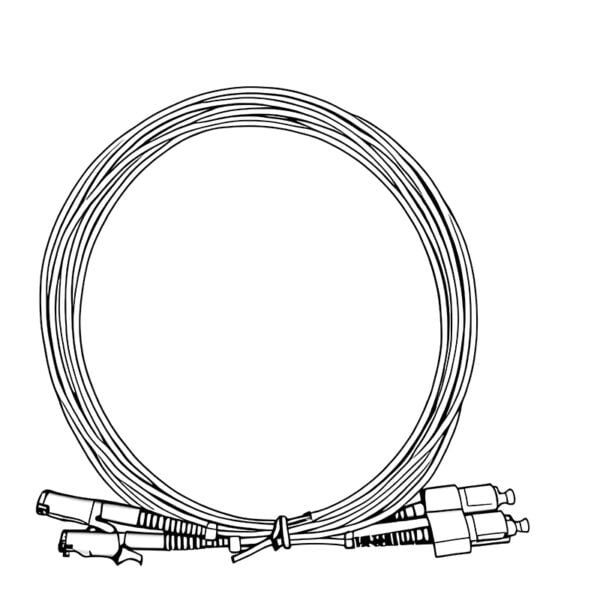
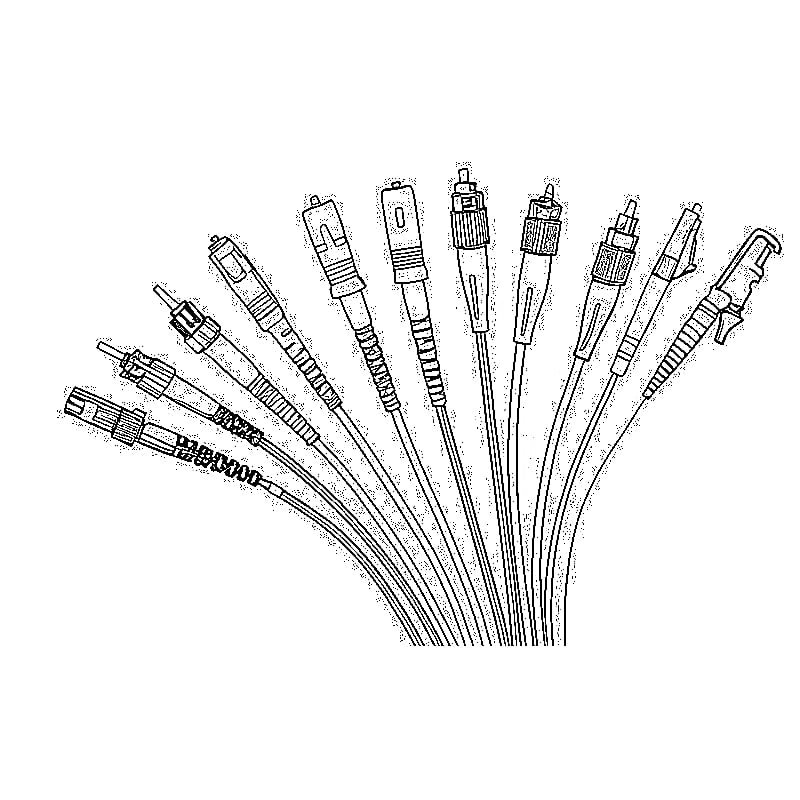
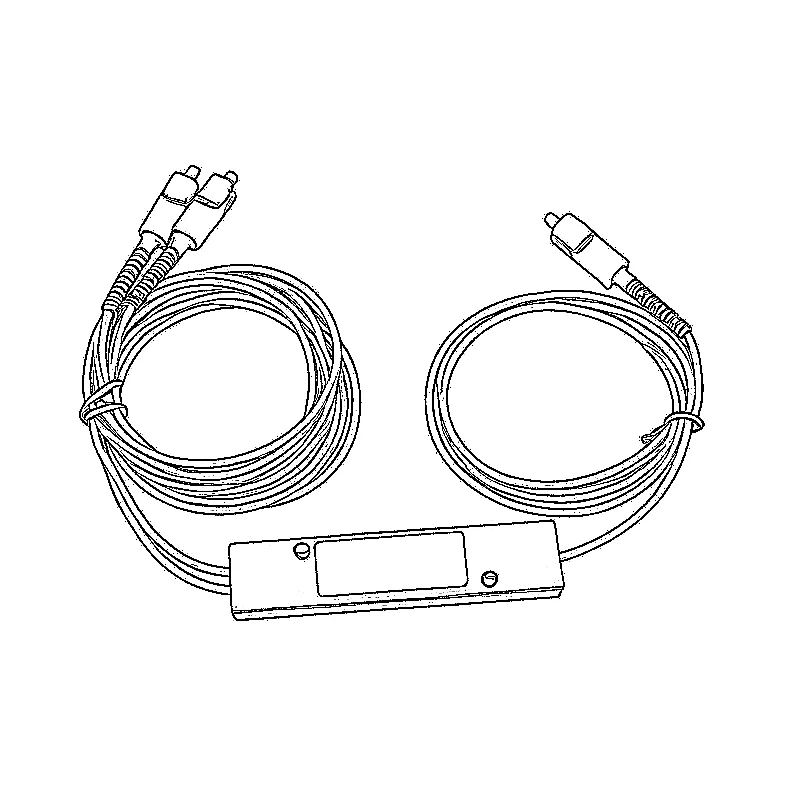
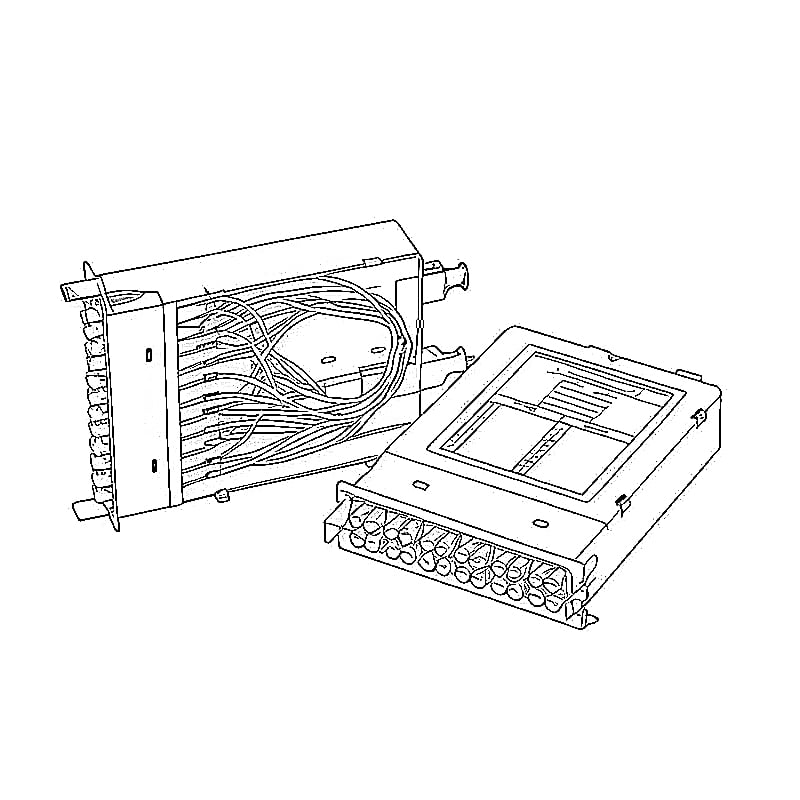
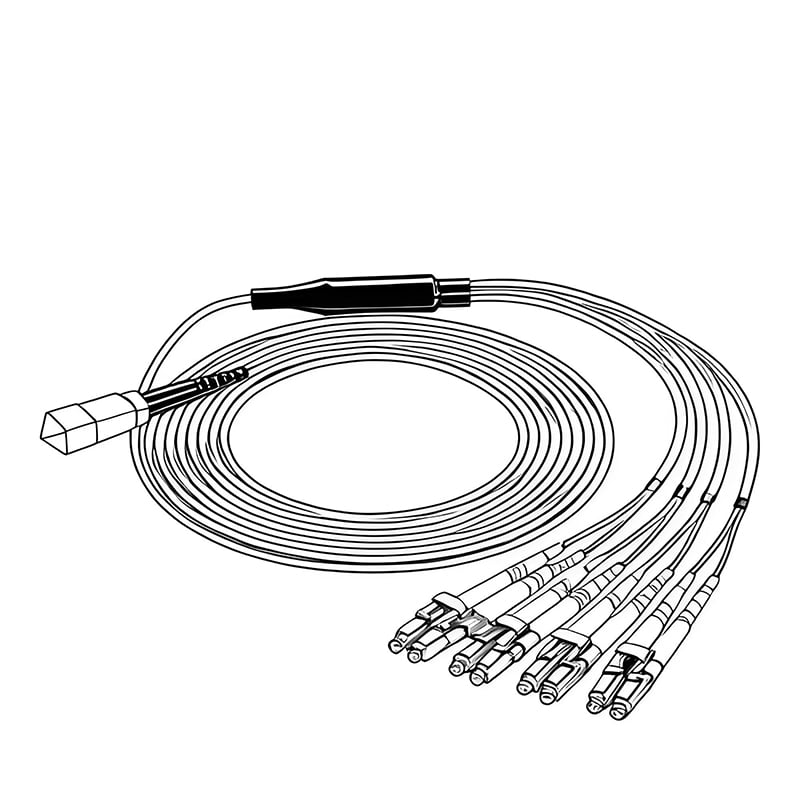

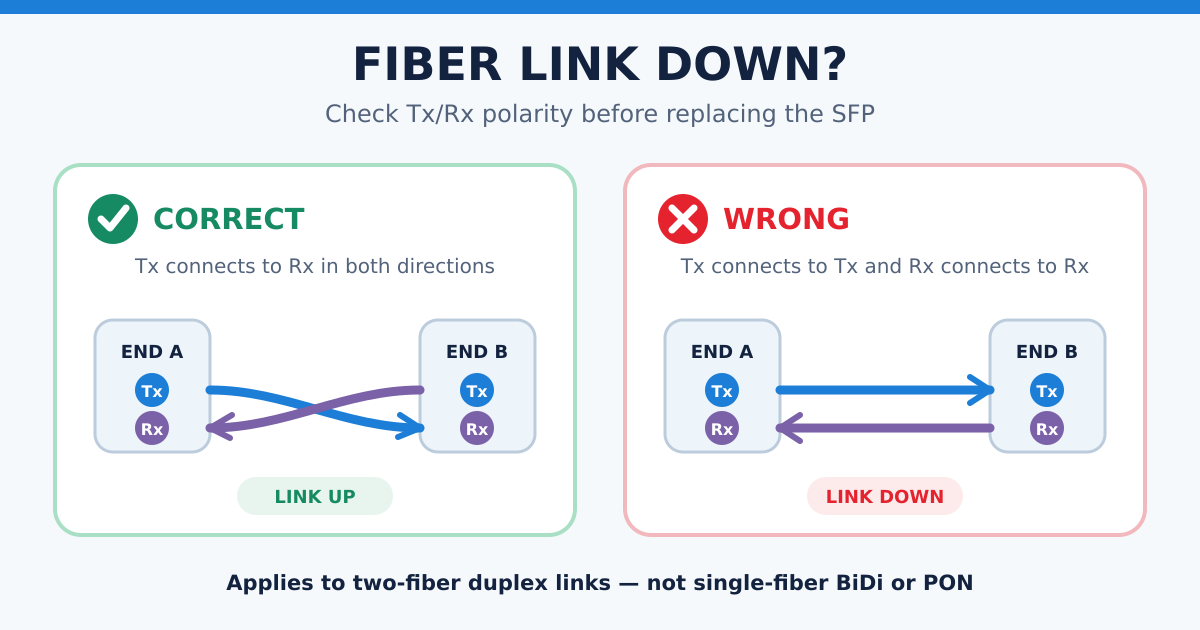
To test MPO cable polarity, you need a position-by-position map—not just a continuity beep or the key direction. For a 12-fiber assembly, inject a known signal into each position at End A, record the position detected at End B, and compare the 12 results with the approved cable drawing. Then test the complete installed channel to confirm that every transmitter reaches its intended receiver.

This matters because three checks can produce three different answers:
- Continuity: Does light pass through each fiber?
- Polarity: Which position at End A reaches which position at End B?
- Insertion loss: How much power is lost on each path?
A cable can pass continuity and still have the wrong mapping. It can also have the correct mapping but excessive loss.
The 12-Fiber MPO Mapping You Are Checking
The table below is a 12-fiber example. The numbers describe fiber positions at the two ends; they do not, by themselves, identify transmitter and receiver lanes.
| Cable type | End A to End B position map | Plain-language description |
|---|---|---|
| Type A | 1→1, 2→2, 3→3 … 12→12 | Straight-through |
| Type B | 1→12, 2→11, 3→10 … 12→1 | Complete reverse sequence |
| Type C | 1→2, 2→1, 3→4, 4→3 … 11→12, 12→11 | Adjacent pairs flipped |
These mappings agree with the Fiber Optic Association’s MPO polarity guide. Testing Cables with Multifiber/Array Connectors For 8-, 16-, 24-fiber or multi-row assemblies, use the approved manufacturer drawing for that exact assembly. Do not extend the 12-fiber example by guesswork.
Cable type is not the complete polarity method
“Type A cable” and “Method A channel” are related, but they are not interchangeable descriptions. A complete channel may contain a trunk, adapters, cassettes or transitions, patch cords and endpoint interfaces.
The public TIA Fiber Optics Tech Consortium summary of ANSI/TIA-568.3-E explains that Method A uses a Type A trunk, Method B uses a Type B trunk, and Method C uses a Type C trunk—but each method also specifies the other components that complete the Tx-to-Rx path. It also warns that different polarity methods may not be interoperable. Fiber Optics Tech Consortium
So a label on one cable cannot certify the whole link. If you need a refresher on the connector families and basic polarity terms, see LuLeey’s MPO connector overview.
What You Need for an MPO Polarity Test
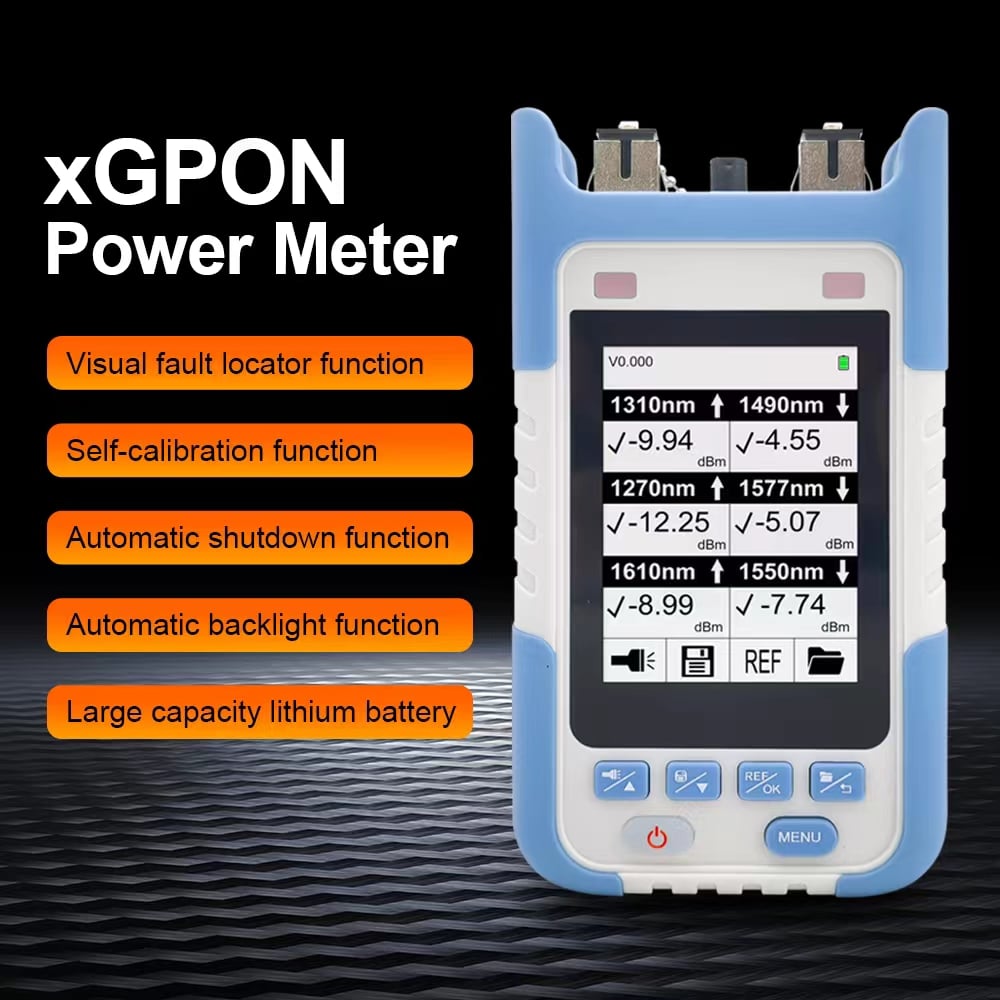
The quickest option is an MPO-aware polarity tester with the correct interface for the assembly. Depending on the instrument, it may map all fibers in one connection and may also measure insertion loss.
For a channel-by-channel method, use:
- A stable optical source supported by the fiber type and test method
- A compatible optical power meter or detector
- Known-good MPO breakout or reference assemblies that expose individual positions
- The correct adapters for the connector keying, pin configuration and polish
- Inspection and cleaning tools designed for the MPO end face
- The approved cable schedule or supplier mapping drawing
- A test record with separate fields for mapping and loss
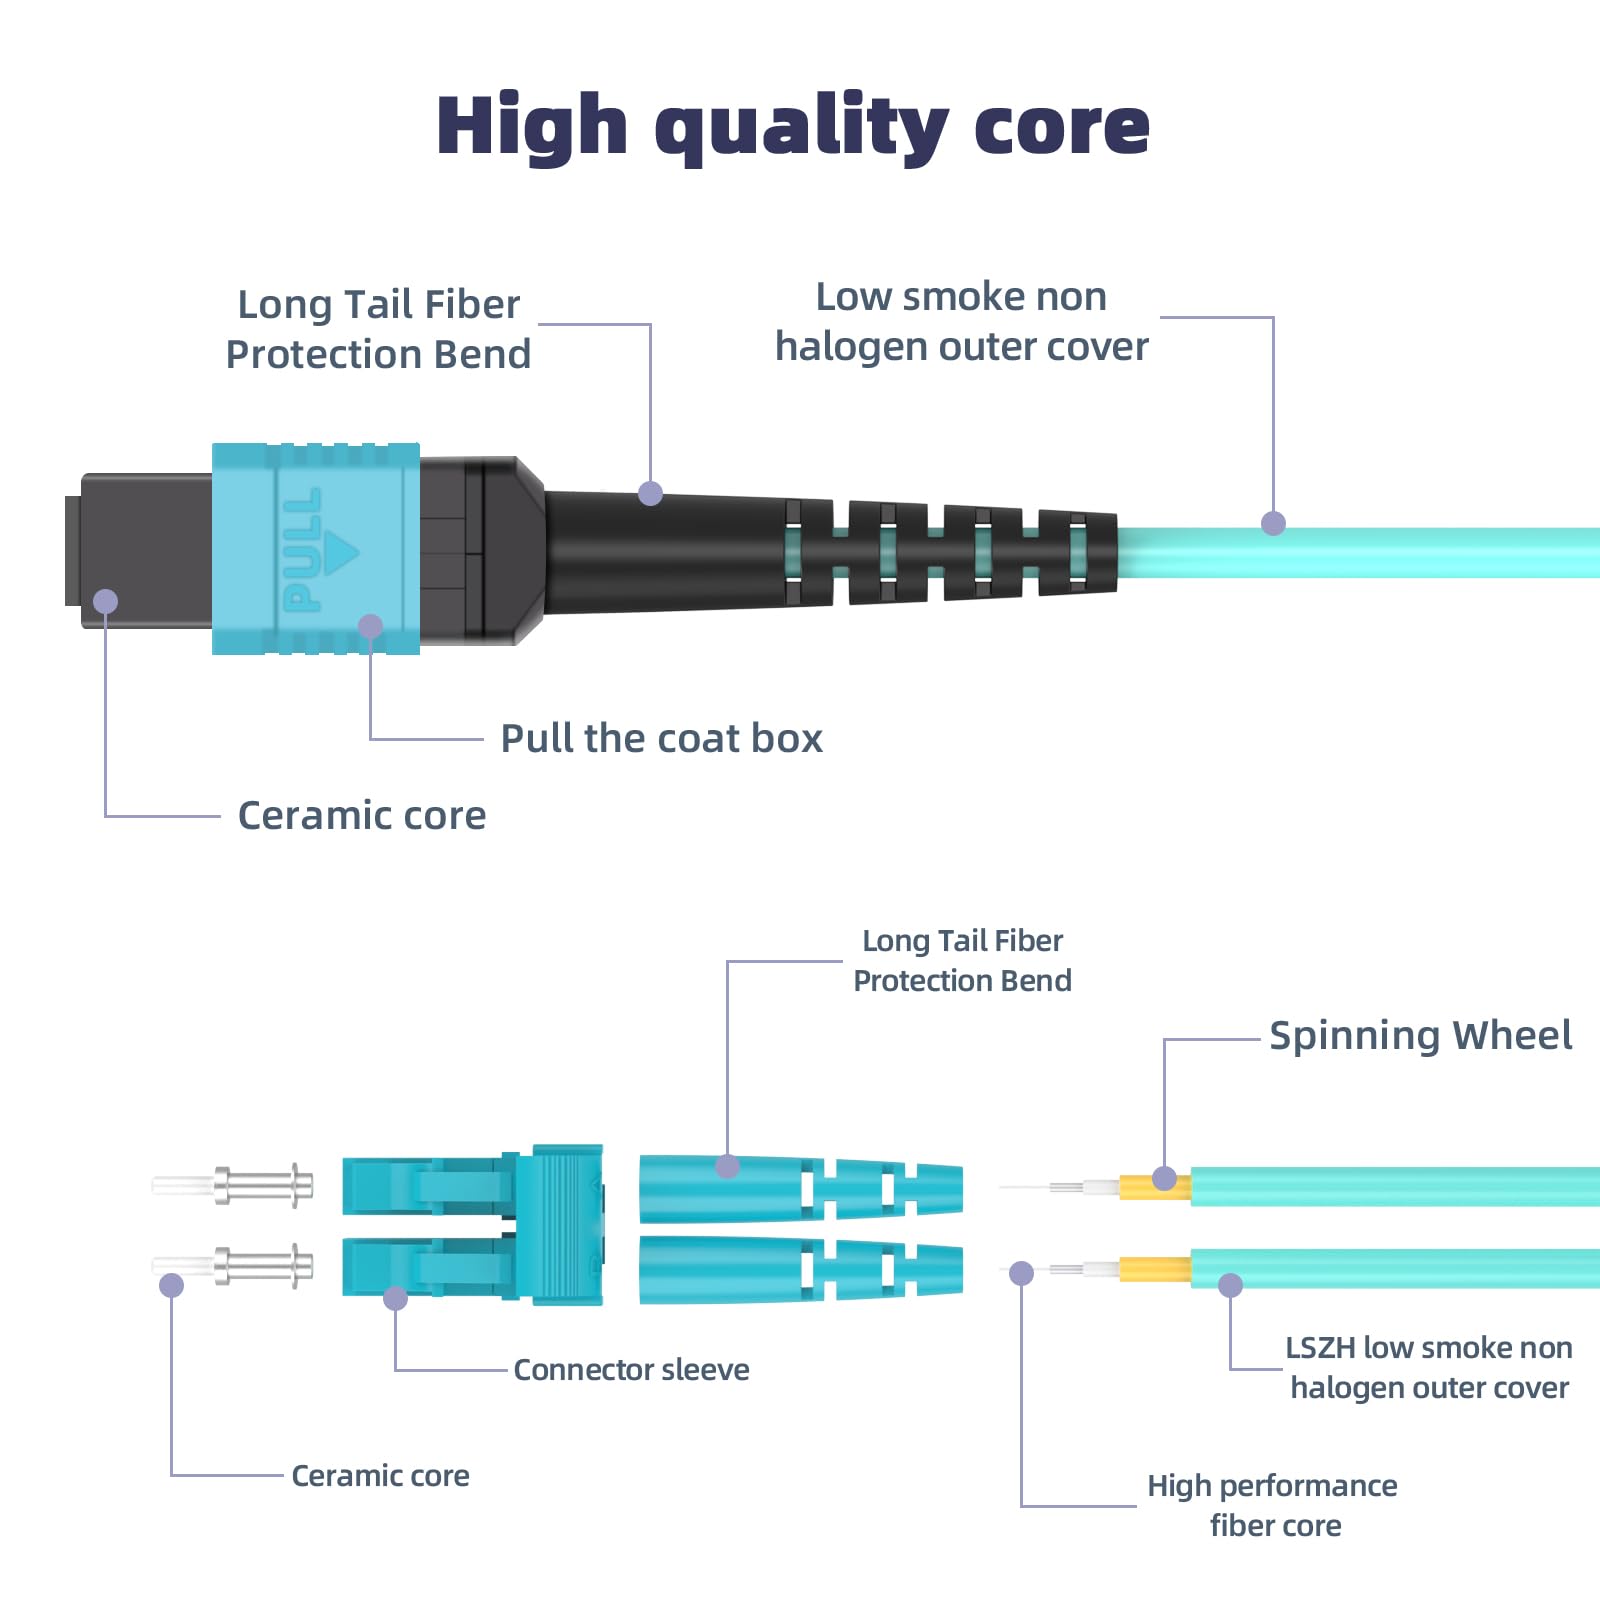
Do not mate connectors merely because their housings latch. One side of an MPO connection must supply guide pins and the other must accept them. The adapter aligns and retains the connector bodies; it does not add missing guide pins. LuLeey’s guide to joining MPO connectors with an adapter explains this distinction.
Also confirm that both sides use compatible fiber type and polish. Never force pinned-to-pinned connectors or mate incompatible angled and flat end-face configurations.
How to Test MPO Cable Polarity: A 7-Step Workflow

1. Freeze the test scope
Write down whether you are testing:
- One loose MPO-to-MPO assembly
- An MPO breakout assembly
- A trunk plus adapters
- A cassette-based structured cabling channel
- The complete path between two equipment ports
Give the two ends fixed names such as End A and End B. If you reverse the names halfway through the job, a correct Type B result can appear wrong on the worksheet.
2. Record the exact connector configuration
Before mating anything, record:
- Fiber count and populated positions
- Single-row or multi-row ferrule
- Pinned or unpinned connector at each end
- Key orientation at each test interface
- Fiber type, such as OM3, OM4 or OS2
- End-face polish required by the assembly and test cords
- Cable ID, length and supplier part number
Take clear end-label photos if project rules allow. Pin status and key orientation affect how the cable mates, but neither alone proves the internal fiber map.
3. Establish one viewing convention
Use the numbering view stated on the approved drawing or tester. Record whether the diagram is viewed from the ferrule end face or from behind the connector, and where the key appears.
This step prevents a mirror-image error. A technician viewing End A from the front and End B from the rear can write a false reversal even when the cable is correct.
Do not assign “left is position 1” from memory. Put the drawing, test instrument and worksheet on the same convention before you connect the cable.
4. Inspect, clean and re-inspect
Inspect the full MPO end face, not only the center fibers. Clean it with a method approved for that connector, then inspect again.
MPO ferrules are harder to inspect and clean than single-fiber connectors because several fiber ends and the pin or hole areas share one ferrule. Contamination can create high loss on only a few channels and can transfer to the reference assembly.
Never look into a connector or fiber to find light. Optical radiation may be invisible. Use an appropriate detector or viewing instrument.
5. Map every populated position
With a dedicated polarity tester, connect the assembly exactly as the instrument procedure specifies and save the detected input-to-output map.
With a channel-by-channel setup:
- Launch a known test signal into position 1 at End A through the correct breakout or reference assembly.
- Identify the receiving position at End B with a detector or power meter.
- Record the result as
A1 → B__. - Repeat for every populated position.
- Confirm that each expected output position appears exactly once.
For a 12-fiber cable, a complete record has 12 input-to-output results. Testing only the first and last positions may distinguish some obvious A/B cases, but it cannot reliably prove the entire map or find a single crossed pair in the middle.
6. Compare the observed map with the approved map
Classify the result only after all positions are recorded:
1→1 … 12→12matches Type A in a 12-fiber example.1→12 … 12→1matches Type B.1→2, 2→1 … 11→12, 12→11matches Type C.- Any other result is non-standard, damaged, misidentified or intentionally custom until the supplier drawing proves otherwise.
A tester displaying “Type B” is useful, but keep the raw position map in the acceptance record. The map survives differences in naming, view direction and local labeling.
7. Test loss separately, then verify the complete channel
Run the project’s required insertion-loss test on every populated fiber using the specified reference method, wavelength, source condition and acceptance limit. A polarity tester that also reports loss can reduce reconnections, but the two pass/fail results must remain separate.
After installation, verify the complete channel from the intended equipment-side interfaces. Trace each endpoint transmit lane through every patch cord, adapter, cassette or transition and trunk to the intended receive lane at the far end.
The final record should therefore show:
- Component mapping: pass or fail
- Component or channel insertion loss by fiber: pass or fail
- End-to-end Tx-to-Rx lane assignment: pass or fail
A Practical 12-Fiber Test Record
Use the project drawing—not this blank table—as the acceptance target.
| End A position | Expected End B | Measured End B | Loss result | Notes |
|---|---|---|---|---|
| 1 | ||||
| 2 | ||||
| 3 | ||||
| 4 | ||||
| 5 | ||||
| 6 | ||||
| 7 | ||||
| 8 | ||||
| 9 | ||||
| 10 | ||||
| 11 | ||||
| 12 |
Add the tester model, serial number, calibration status, source wavelength, reference assemblies, viewing convention, connector pinning, key orientation, technician and date to the same record.
Common MPO Polarity Testing Mistakes
- Calling a cable Type A, B or C after checking only continuity
- Recording connector positions without stating the viewing direction
- Assuming key-up/key-down proves the internal map
- Ignoring pinned versus unpinned mating requirements
- Testing only two fibers in a 12-fiber assembly
- Treating a correct map as proof that insertion loss is acceptable
- Testing the trunk but not the adapters, cassettes and patch cords in the installed channel
- Assuming a Type B cord is automatically correct for every parallel-optics link
- Reusing contaminated or worn reference assemblies
- Applying a 12-fiber mapping diagram to an 8-, 16- or 24-fiber product without its drawing
Before Ordering a Replacement MPO Cable
If the installed cable fails, do not order a replacement from the polarity letter alone. Provide:
- Both endpoint interface or transceiver part numbers
- Required end-to-end lane map
- Fiber count and populated positions
- Pinned or unpinned requirement at each end
- Key orientation and adapter type
- Fiber type and polish
- Cable length and installation environment
- The failed cable’s measured position map
LuLeey’s MTP/MPO cable selection guide covers the broader ordering checklist. For a concrete configuration example, LuLeey’s 12-fiber OM4 MPO trunk cable page lists selectable connector gender, UPC or APC polish, and Type A/B/C polarity. Those options still need to be matched to the approved system design.
Practical Next Step
Before the cable leaves the bench, make a 12-line input-to-output map and attach it to the cable ID. After installation, repeat the check at the equipment-side interfaces and add per-fiber loss results.
If the observed map does not match the approved design, stop and resolve the cable, adapter, cassette or patch-cord combination. Do not keep adding crossover components until the link happens to come up; an undocumented fix is likely to fail again during the next move or upgrade.


 SFP/SFP+ (1G/2.5G/5G/10G)
 SFP-T (1G/2.5G/10G)
 AOC Cable 10G/25G/40G/100G
 DAC Cable 10G/25G/40G/100G
 QSFP28 QSFP+ SFP28 100G/40G/25G
 Copper to Fiber Media Converters
 Fiber Media Converter PCBA Board
 OEO Fiber Media Converters
 Serial to Fiber Media Converters
 Video to Fiber Media Converters
 1000M GPON/EPON ONU
 10G EPON ONU/XG-PON/XGS-PON
 2.5G GPON/XPON STICK SFP ONU
 POE GPON/EPON ONU
 Wireless GPON/EPON ONT
 EPON OLT
 GPON OLT
 SFP PON Module
 Industrial Switches
 Managed Switches
 POE Switches
 Unmanaged Switches
 MTP/MPO Fiber Cables
 Fiber Optic Cassettes
 Fiber Optic Loopback
 Optic Cables and Fiber Pigtails
 Optical Splitters and Splitter Box
 Fiber Flange Connectors
 Optical Adapters
 Optical Attenuator
 Quick Connector and Connector Panel
 CATV Amplifier
 CATV Optical Receiver
 Visual Fault Locator
 OTDR
OTDR Optical Power Meter
 Fiber Optic Identifier
 Fiber Optic Cleaners
 Fiber Cleavers & Fiber Strippers
 Copper Tools


