Customs duties are the responsibility of customers, but standard logistics support DDP to most countries, duty-free such as US, DE, UK, CA, FR, IT, PL, AT, JP…


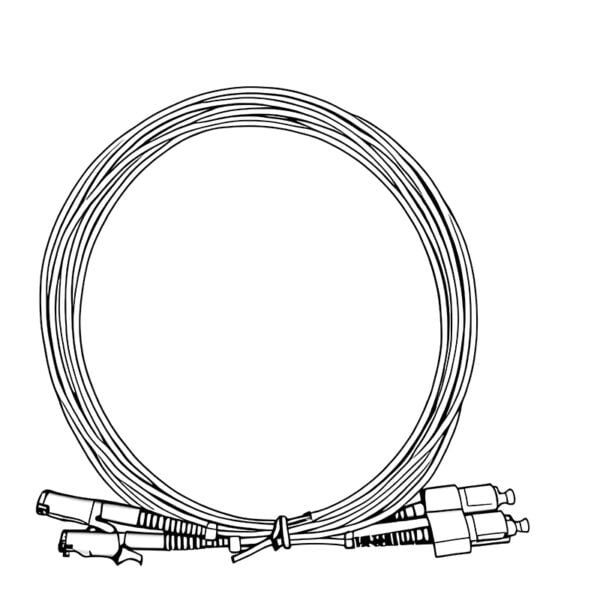
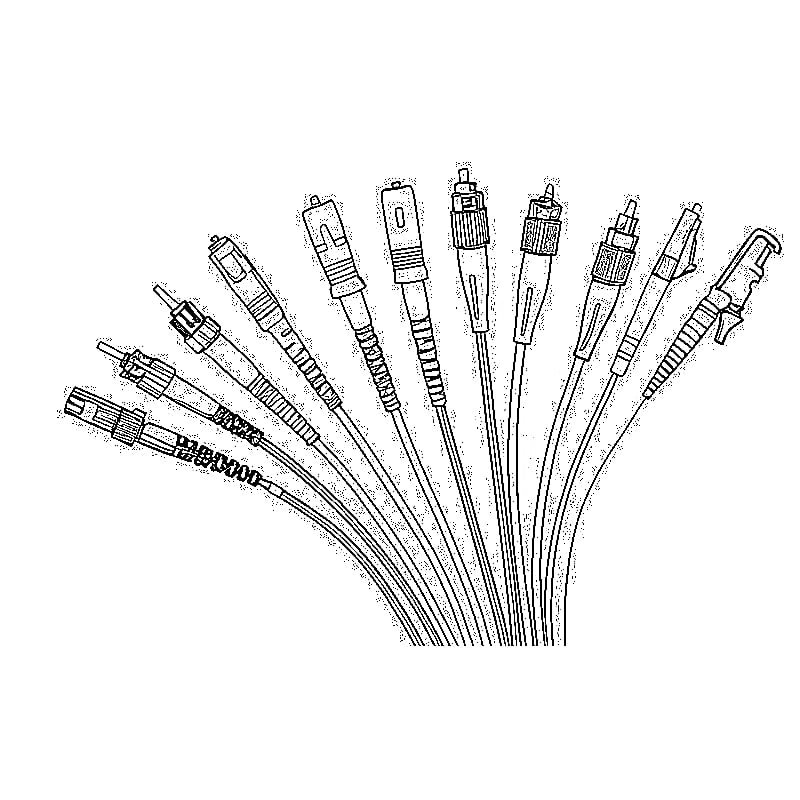
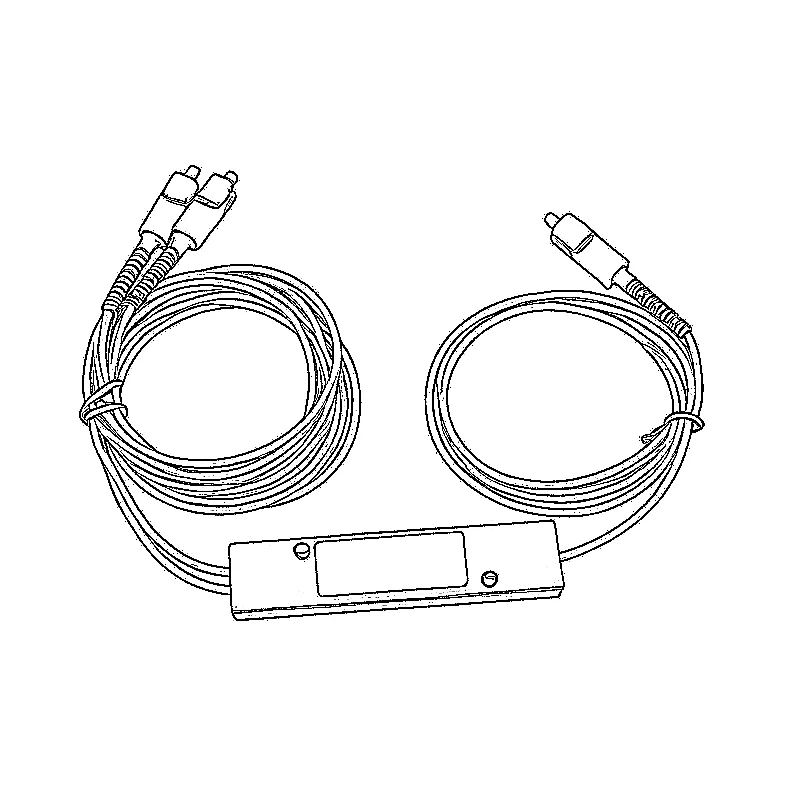
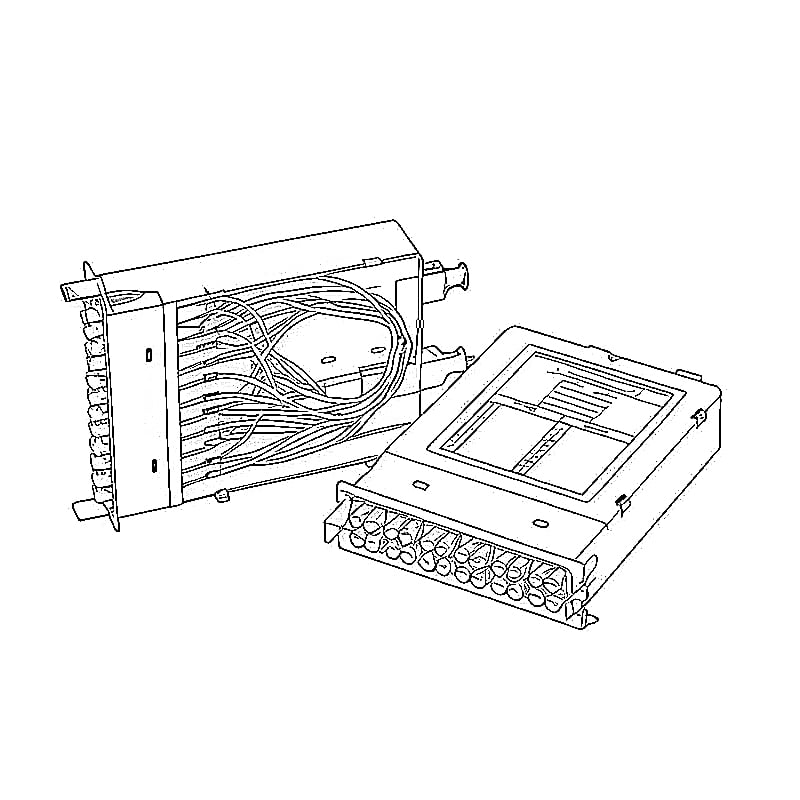
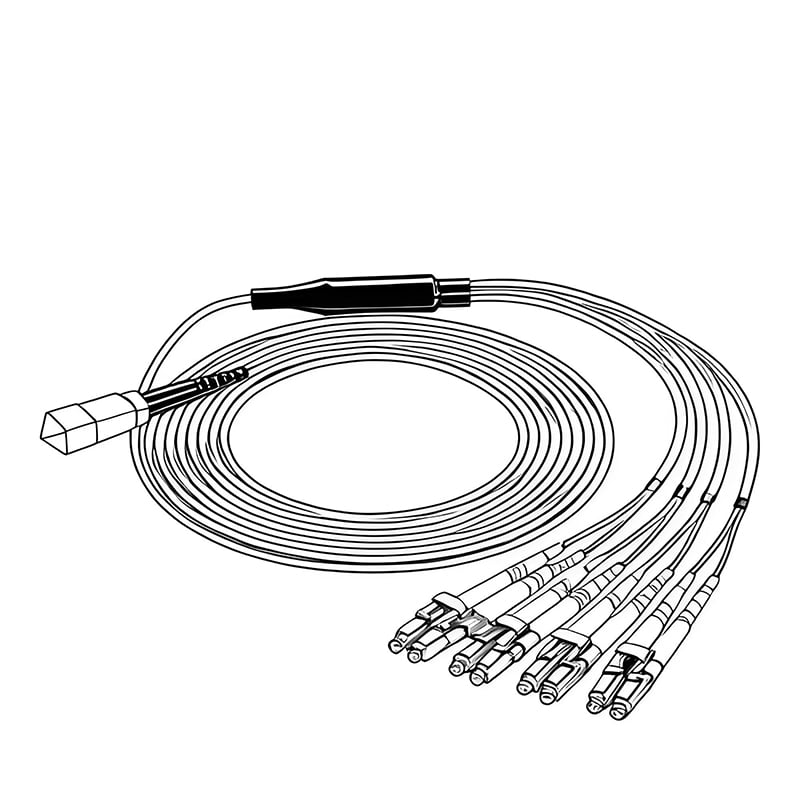
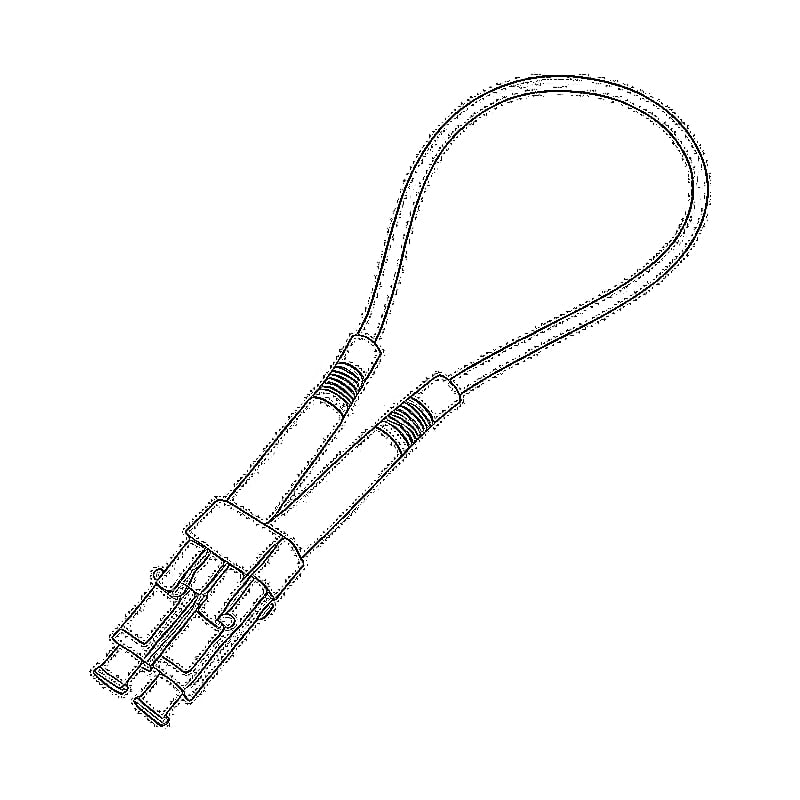

Should you clean a new Fiber Patch Cord before plugging it in? Treat every new connector as unverified, not automatically dirty or automatically clean. Remove the protective cap only when you are ready, inspect both mating endfaces, clean any endface that fails inspection—or follow a stricter site procedure—and inspect again before connection.
A protective cap reduces exposure during storage and shipping, but it is not a cleanliness certificate. The practical goal is not to clean as often as possible. It is to keep contamination out of the connection and to verify the result.
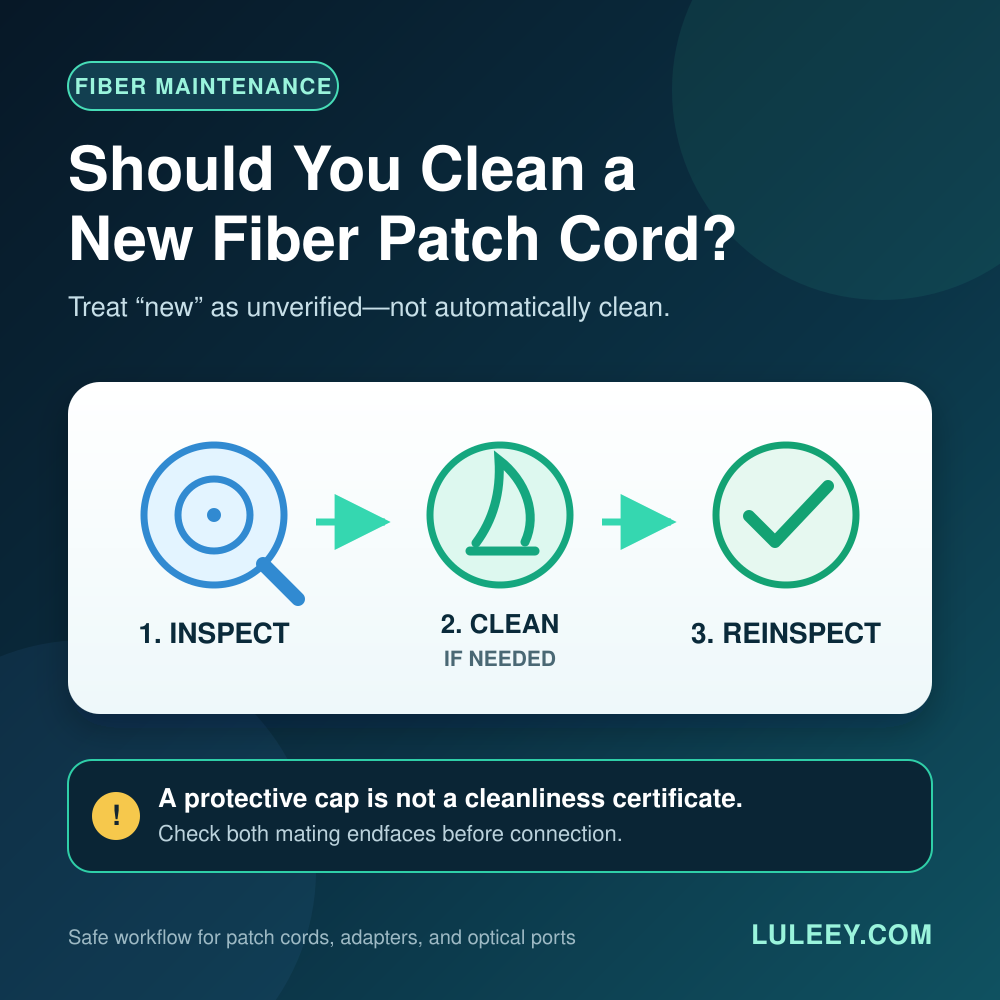
Should You Clean a New Fiber Patch Cord? The Short Answer
Use this rule:
- Do not mate a new connector blindly. Inspect it first.
- If both mating endfaces pass inspection, connect them promptly. Extra handling can introduce contamination.
- If either endface fails, clean it with the correct tool and inspect it again.
- If your site procedure requires pre-cleaning every connection, follow that procedure and still reinspect. Cleaning is an action, not proof that the endface is acceptable.
FOA-8 says protective caps may contain dirt and warns that a dirty connector can contaminate a clean one during mating. Its testing guidance describes the process as inspect, clean, then inspect again. thefoa.org
Why a Factory-New Patch Cord Still Needs Inspection
“New” describes the product’s use history. It does not describe the endface at the moment you connect it.
A cap can hold debris. Contamination can also appear while a cord is unpacked, routed, labeled, or handled. Many particles are too small to judge with the naked eye. Once a contaminated connector is mated, debris can transfer to the other side of the connection.
This is why opening the bag is not the final quality check. The final check happens at the connector, immediately before mating.
A Safe Inspect-Clean-Inspect Workflow

1. Make the link safe
Follow the site procedure to turn off or isolate the optical source before inspection. Never stare into a fiber, connector, or optical port, and never attach a direct-view microscope to a fiber that may be live. Use suitable video inspection equipment and the correct adapter tip. Fiber Optic Testing
2. Remove the cap only when you are ready
Hold the connector by its housing. Do not touch the ferrule or endface. Keep unused connectors capped and store removed caps in a clean container if they will be reused.
3. Inspect both mating endfaces
Check the new patch-cord connector and the connector or receptacle it will meet. Look for dirt, residue, scratches, chips, or other visible defects that could affect the connection.
Do not assume every optical receptacle can be cleaned in the same way. Some ports use lensed interfaces or have manufacturer-specific restrictions. If the inspection system cannot focus on a normal fiber endface, stop and follow the equipment instructions rather than inserting a generic swab. Cisco
4. Clean only with a matched method
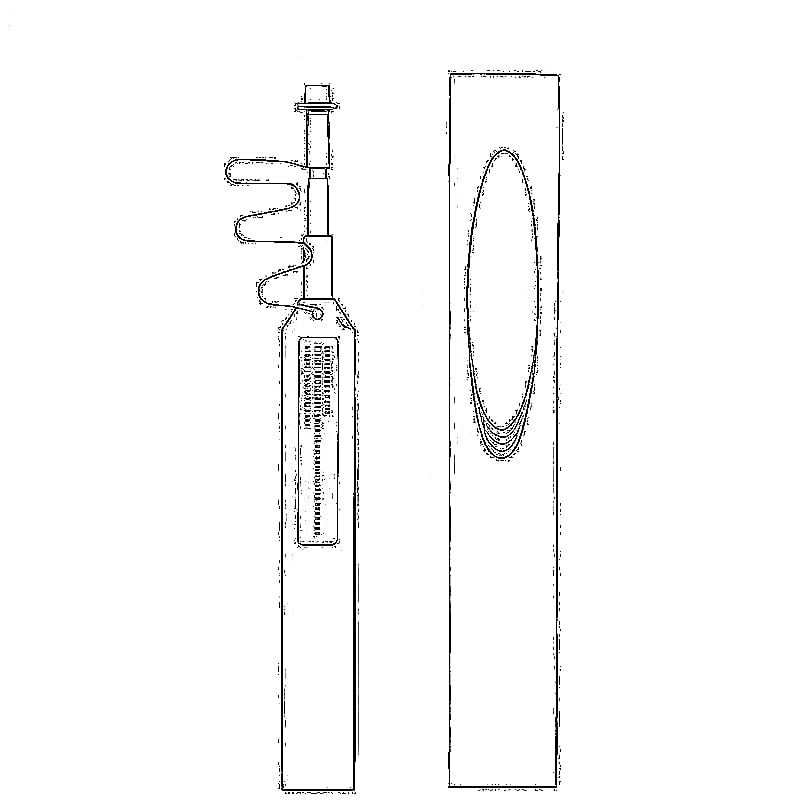
For routine dry contamination, use a purpose-built dry cleaner that matches the connector and whether the endface is exposed or recessed. A cassette or fresh lint-free surface is useful for an exposed plug; an appropriate one-click tool can serve a supported plug or recessed interface.
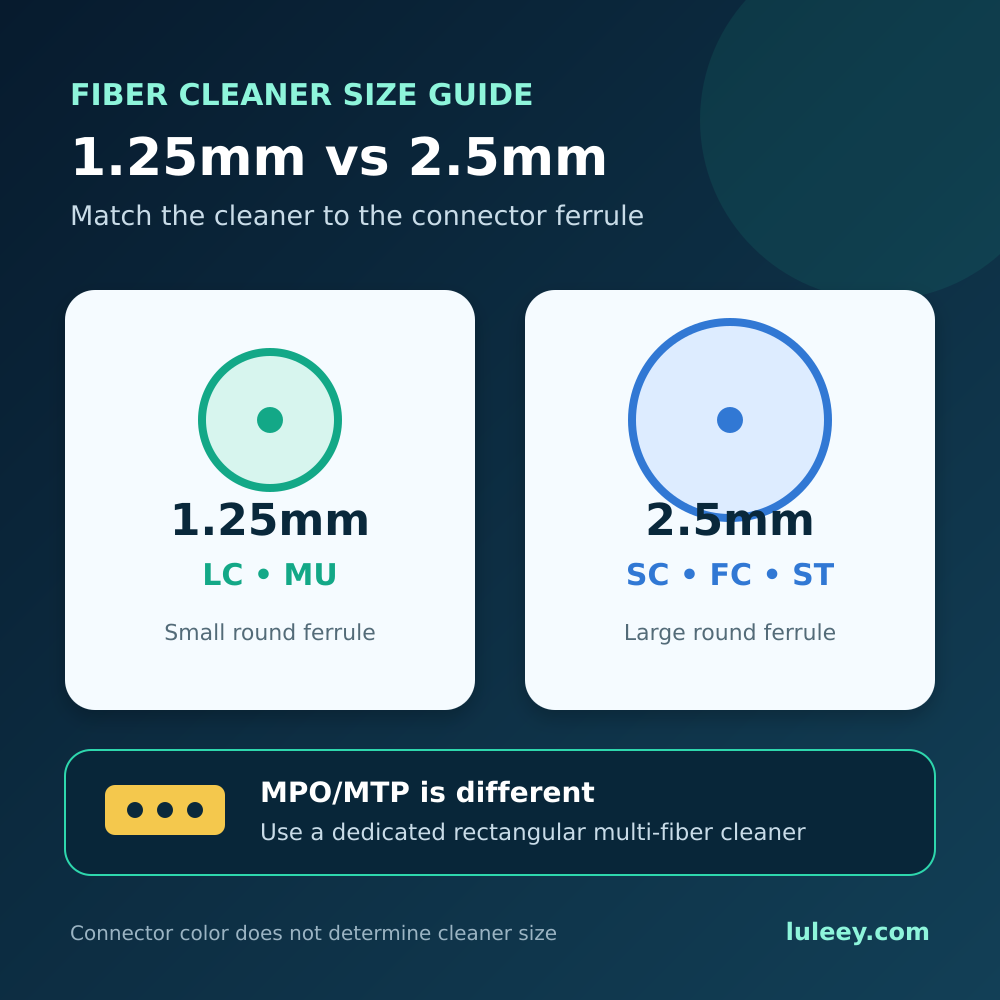
Match the tool to the connector—not to the cable color or fiber type. LuLeey’s 1.25mm vs 2.5mm fiber cleaner guide explains the common starting points: luleey.com
| Connector family | Typical cleaner class | Important check |
|---|---|---|
| LC or MU | 1.25mm round-ferrule cleaner | Confirm that the tip supports the plug or recessed-port presentation |
| SC, FC or ST | 2.5mm round-ferrule cleaner | Confirm access, polish support and any shutter or hardened interface |
| MPO/MTP | Dedicated rectangular multi-fiber cleaner | Match pin state, fiber count and plug/adapter access |
Do not force a tool into a port. Never reuse a swab, wipe area or contaminated cassette section. If oily residue requires a wet method, use only a cleaning fluid and wet/dry procedure approved for fiber connectors, dry the surface as directed, and inspect again.
Generic lens cleaners, cotton swabs, breath and shop compressed air can leave residue, fibers, moisture or oil.
5. Reinspect before mating
A click from a cleaner confirms that the mechanism moved; it does not confirm a clean endface. Reinspect the cleaned surface. Repeat the approved process only if contamination remains.
If a scratch, chip, pit or other damage remains in a critical area, stop repeated cleaning. Cleaning cannot repair physical damage. Replace the patch cord or escalate the affected equipment-side interface under the site procedure.
6. Connect promptly and protect unused ends
When both mating endfaces pass, connect them without touching or setting down the ferrules. Recap unused connectors and keep inspection tips and cleaning tools in clean, closed storage.
Quick Decision Table for a New Patch Cord
| What you find | What to do | Why |
|---|---|---|
| The cap is still fitted | Remove it only when ready, then inspect | A cap protects the connector but does not verify it |
| Both mating endfaces pass | Connect promptly | More handling creates another contamination opportunity |
| One or both endfaces fail | Clean the failed surface or surfaces, then reinspect both | A dirty side can contaminate a clean side |
| Dirt returns after cleaning | Check the mating side, tool, adapter tip and handling process | The source may be elsewhere in the workflow |
| No inspection scope is available | Follow the site procedure and use a controlled cleaning method, but do not call the connector “verified clean” | Cleaning without inspection cannot produce a visual pass result |
| The endface passes but the link still has high loss | Stop cleaning and test the rest of the link | Bends, wrong polarity, mismatched connector polish, damaged components or another link event may be responsible |
Common Mistakes to Avoid
Trusting the dust cap
The cap reduces exposure. It does not report the present condition of the endface.
Cleaning only the new patch cord
The equipment-side connector or adapter may be contaminated. Inspect both sides before they touch.
Using the wrong cleaner size
A standard LC Connector normally needs a 1.25mm tool, while standard SC, FC and ST connectors normally use the 2.5mm class. MPO/MTP needs a dedicated multi-fiber tool. The exact tip must also fit the interface presentation.
Reusing a cleaning surface
A used swab or wipe area can put removed debris back onto the connector. Advance to a fresh surface and discard single-use items.
Applying liquid without a verified drying process
Residual fluid can move contamination or leave a film. Follow the approved product method and reinspect after the surface is dry.
Inspecting a potentially live fiber directly
Optical energy may be invisible. Make the link safe and use approved video inspection procedures.
Example: Connecting a New Duplex LC Jumper to a Transceiver
Suppose you are adding a new duplex LC patch cord between a patch panel and an optical transceiver.
- Make the link safe under the local procedure.
- Remove the caps just before work begins.
- Inspect both LC ferrules on the patch cord and both mating interfaces with compatible video-probe tips.
- Clean only the surfaces that fail, using a supported 1.25mm LC method. Check the transceiver instructions before cleaning its receptacle.
- Reinspect all four mating endfaces.
- Connect the duplex pair, verify polarity, then bring the link up and check optical power or link diagnostics as appropriate.
The important detail is not that the jumper came from a sealed bag. It is that every surface entering the final connection was checked.
What If the Link Still Fails After Cleaning?
Do not keep clicking a cleaner indefinitely. Save the inspection image if your equipment supports it, then work through the link logically:
- Substitute a known-good patch cord.
- Inspect the far-end connection.
- Confirm connector family, UPC/APC polish compatibility and duplex polarity.
- Check for tight bends or mechanical stress.
- Measure insertion loss or optical power against the documented link budget.
- Review the transceiver, adapter and patch-panel condition.
If the connector passes visual inspection but performance remains poor, contamination may not be the root cause.
Practical Next Step
Add one line to the installation checklist: inspect both mating endfaces before connection, clean failed surfaces, then reinspect.
For tool selection, use LuLeey’s verified 1.25mm/2.5mm cleaner listing only after confirming the connector family and port presentation, or review the current fiber optic cleaners category. For critical links, retain before-and-after inspection records with the link ID.


 SFP/SFP+ (1G/2.5G/5G/10G)
 SFP-T (1G/2.5G/10G)
 AOC Cable 10G/25G/40G/100G
 DAC Cable 10G/25G/40G/100G
 QSFP28 QSFP+ SFP28 100G/40G/25G
 Copper to Fiber Media Converters
 Fiber Media Converter PCBA Board
 OEO Fiber Media Converters
 Serial to Fiber Media Converters
 Video to Fiber Media Converters
 1000M GPON/EPON ONU
 10G EPON ONU/XG-PON/XGS-PON
 2.5G GPON/XPON STICK SFP ONU
 POE GPON/EPON ONU
 Wireless GPON/EPON ONT
 EPON OLT
 GPON OLT
 SFP PON Module
 Industrial Switches
 Managed Switches
 POE Switches
 Unmanaged Switches
 MTP/MPO Fiber Cables
 Fiber Optic Cassettes
 Fiber Optic Loopback
 Optic Cables and Fiber Pigtails
 Optical Splitters and Splitter Box
 Fiber Flange Connectors
 Optical Adapters
 Optical Attenuator
 Quick Connector and Connector Panel
 CATV Amplifier
 CATV Optical Receiver
 Visual Fault Locator
 OTDR
OTDR Optical Power Meter
 Fiber Optic Identifier
 Fiber Optic Cleaners
 Fiber Cleavers & Fiber Strippers
 Copper Tools


